• Falkor Pricing Breakdown

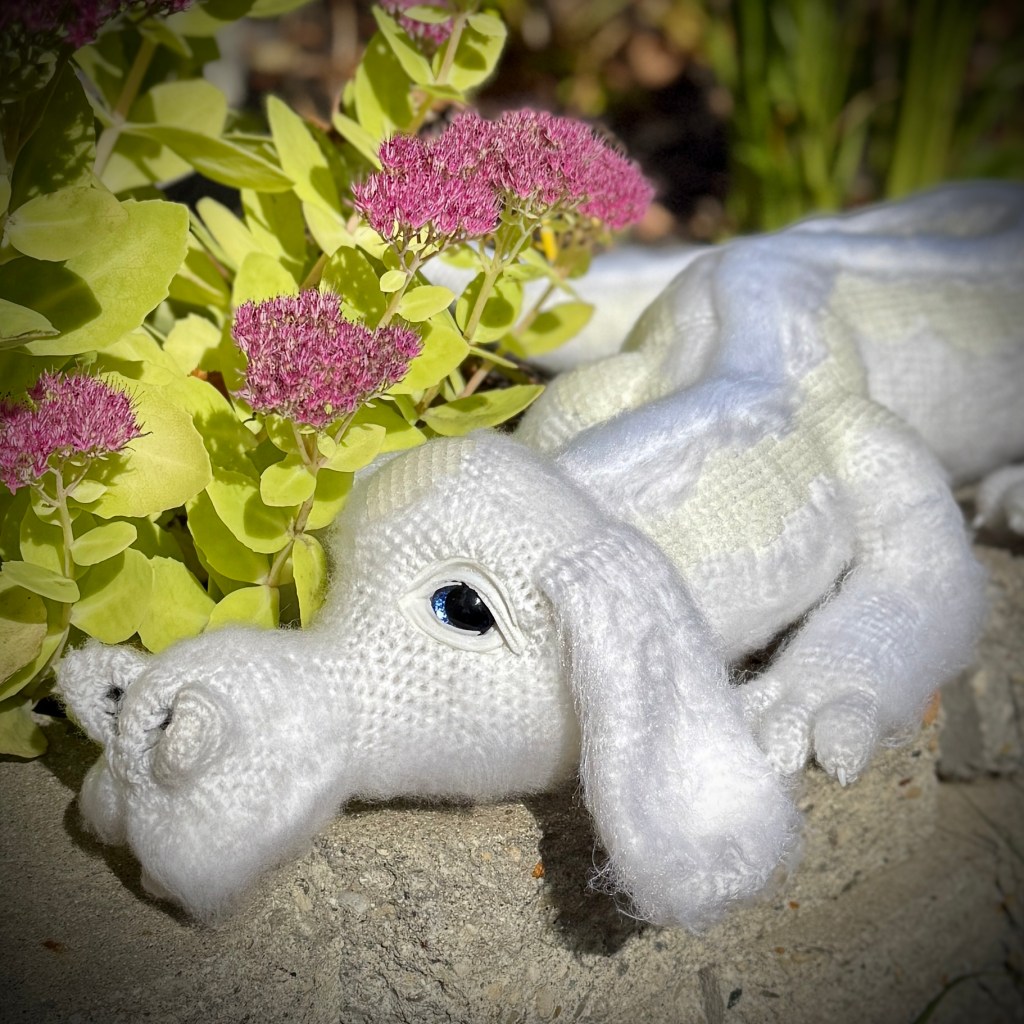
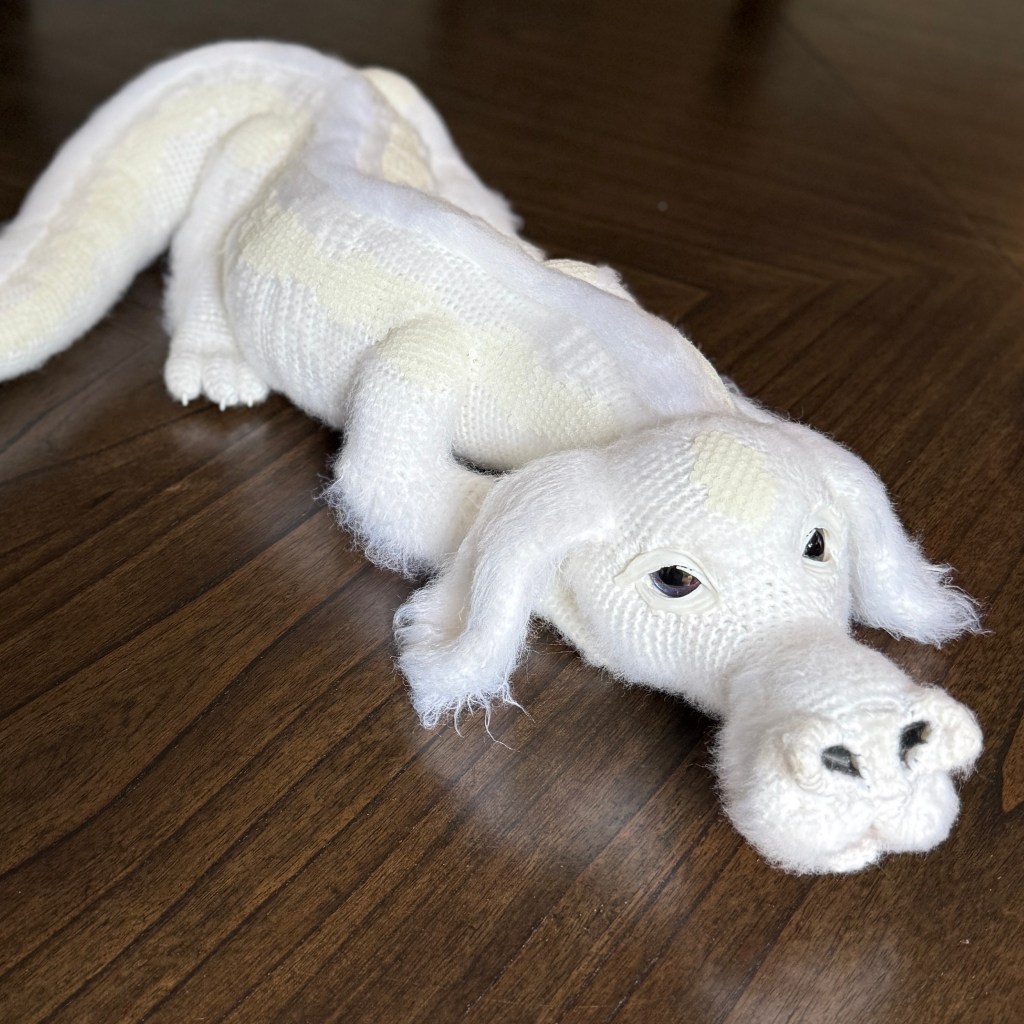
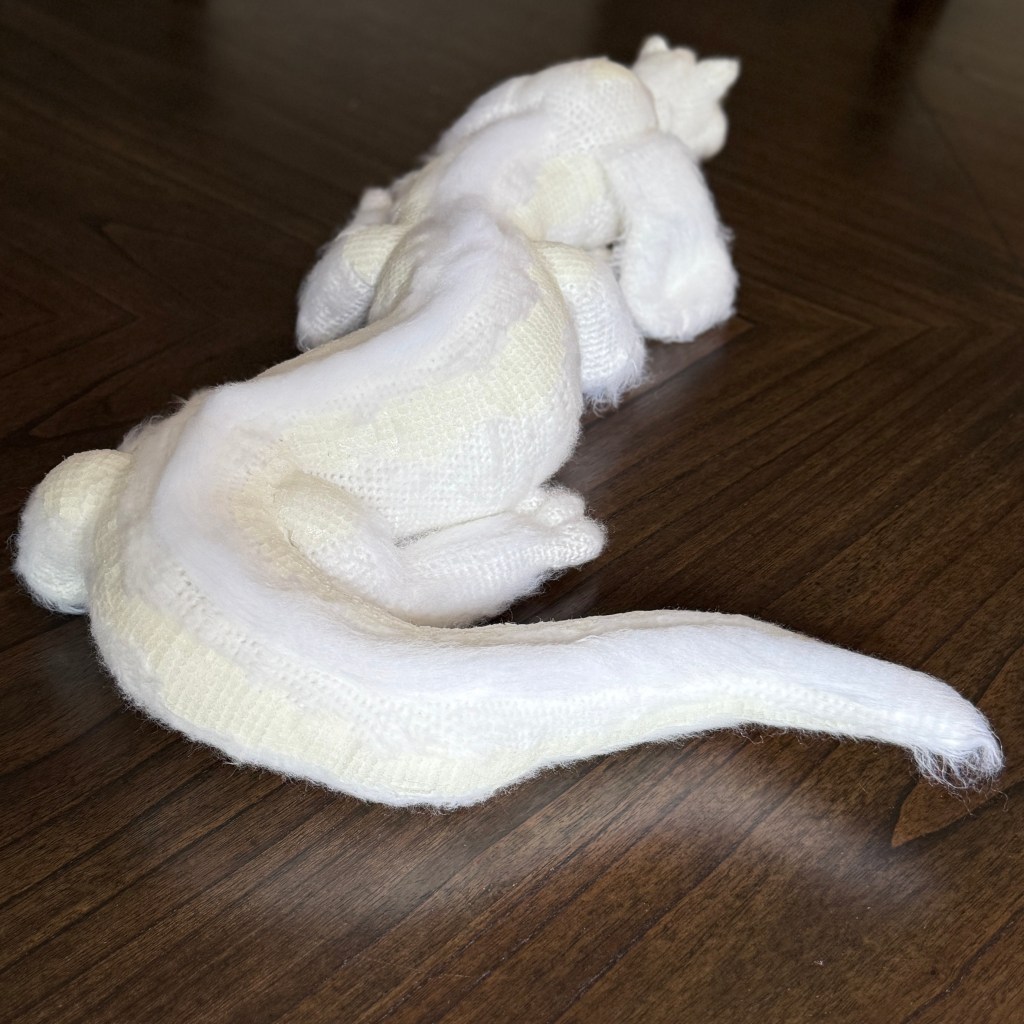
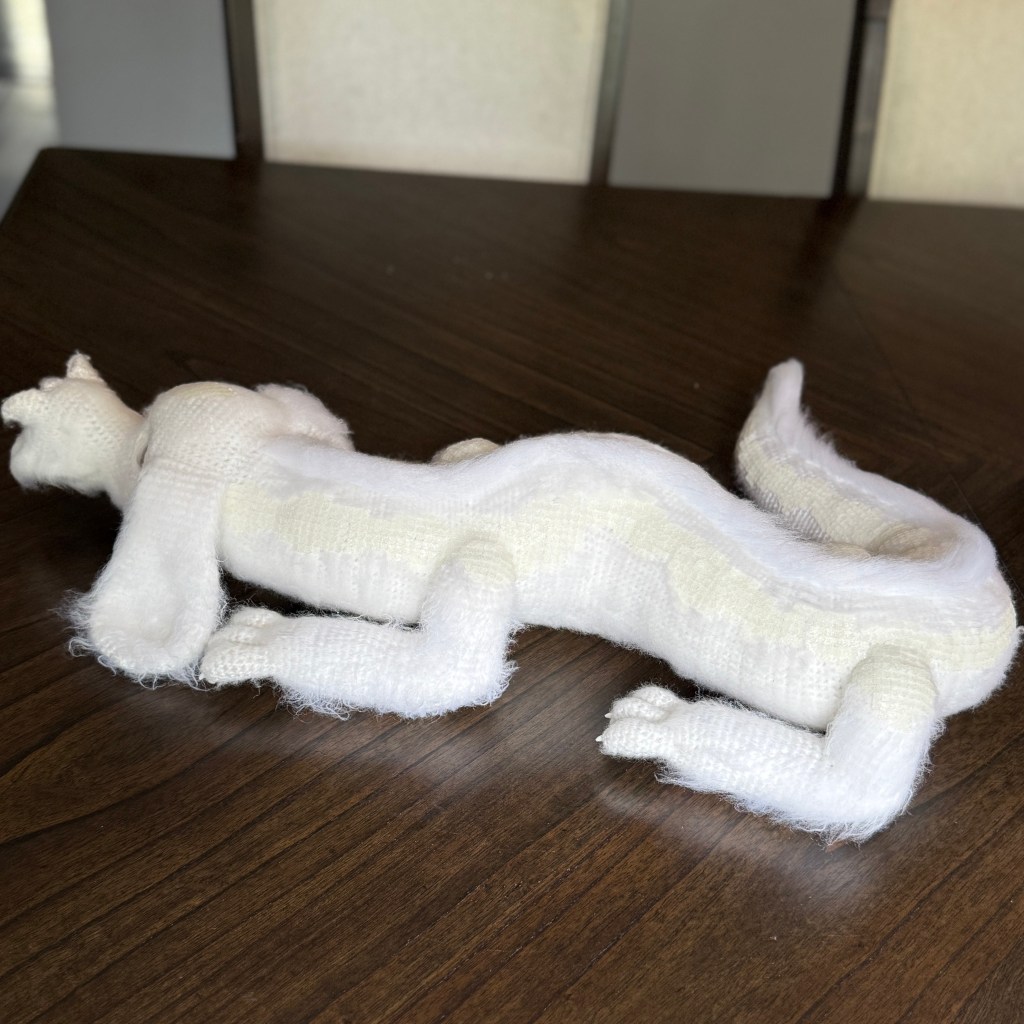
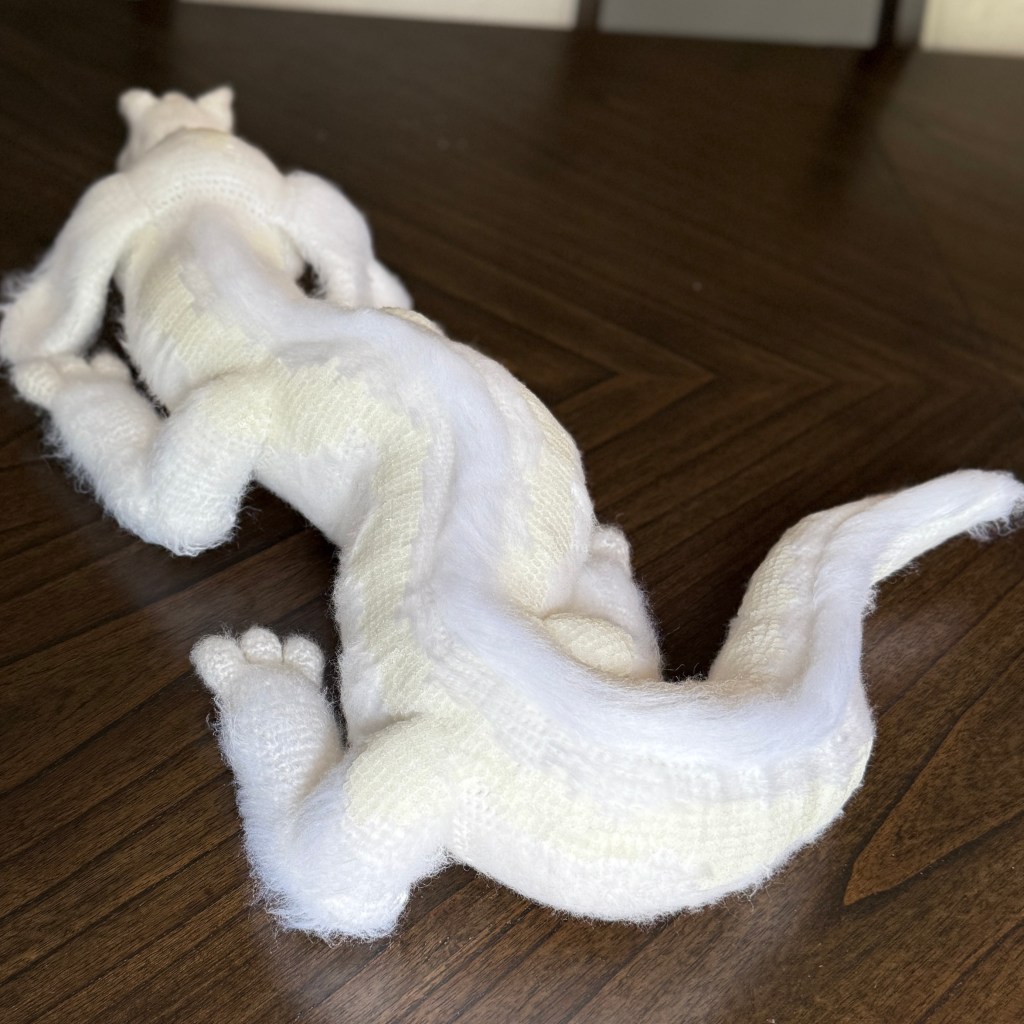
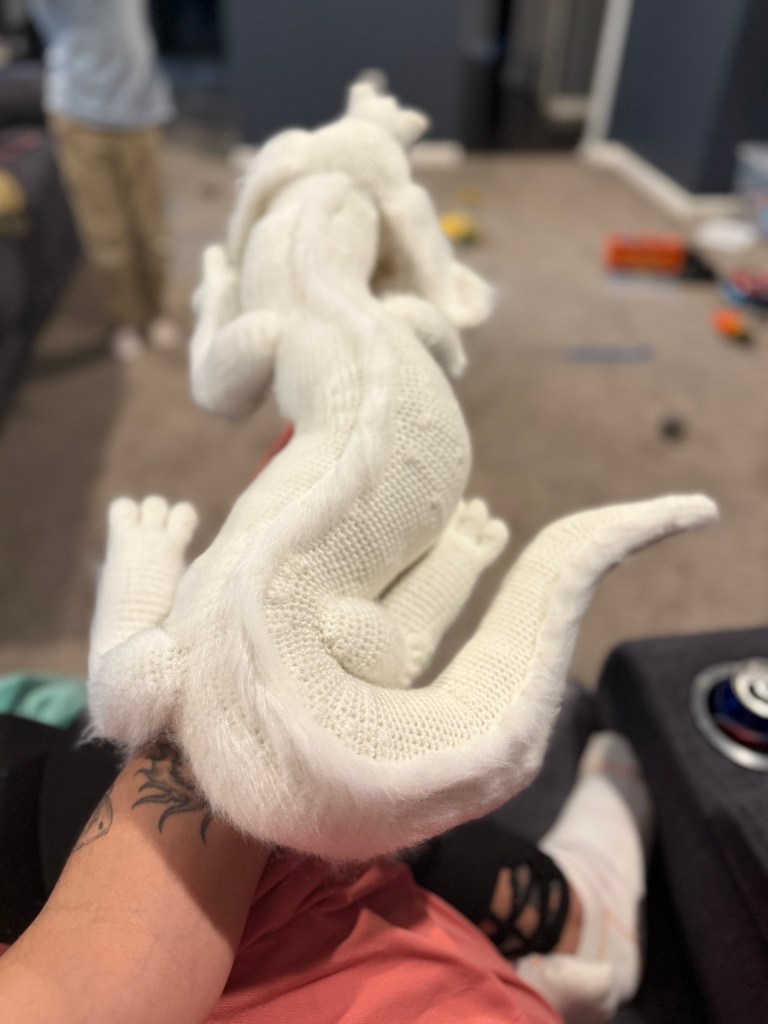
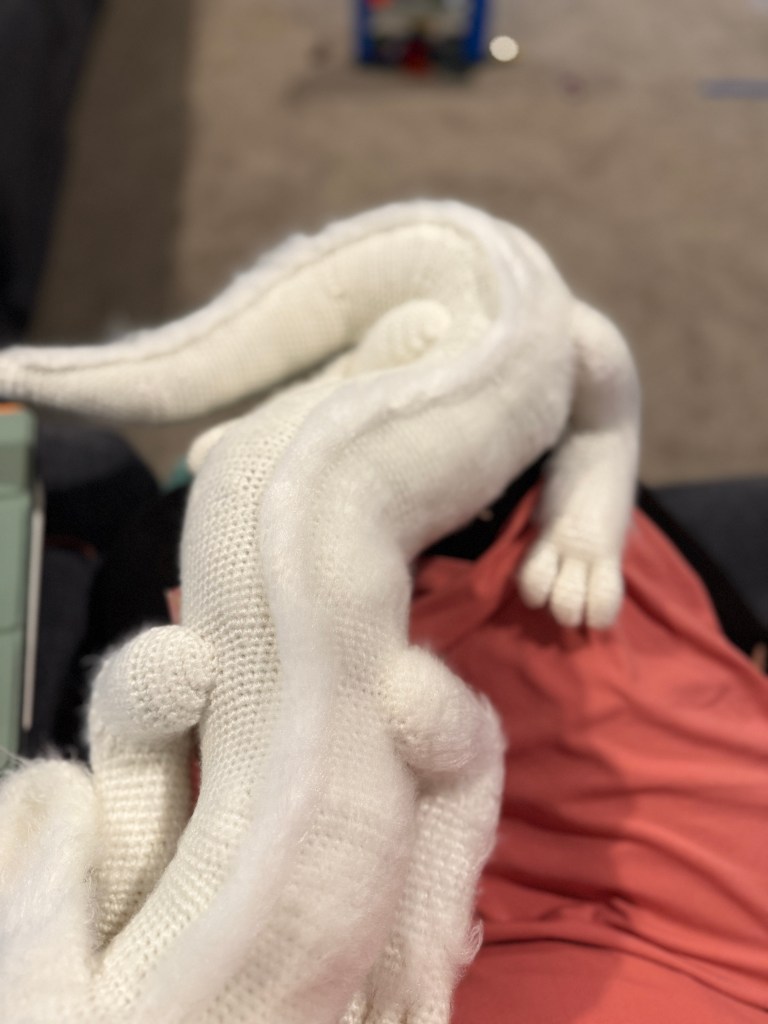
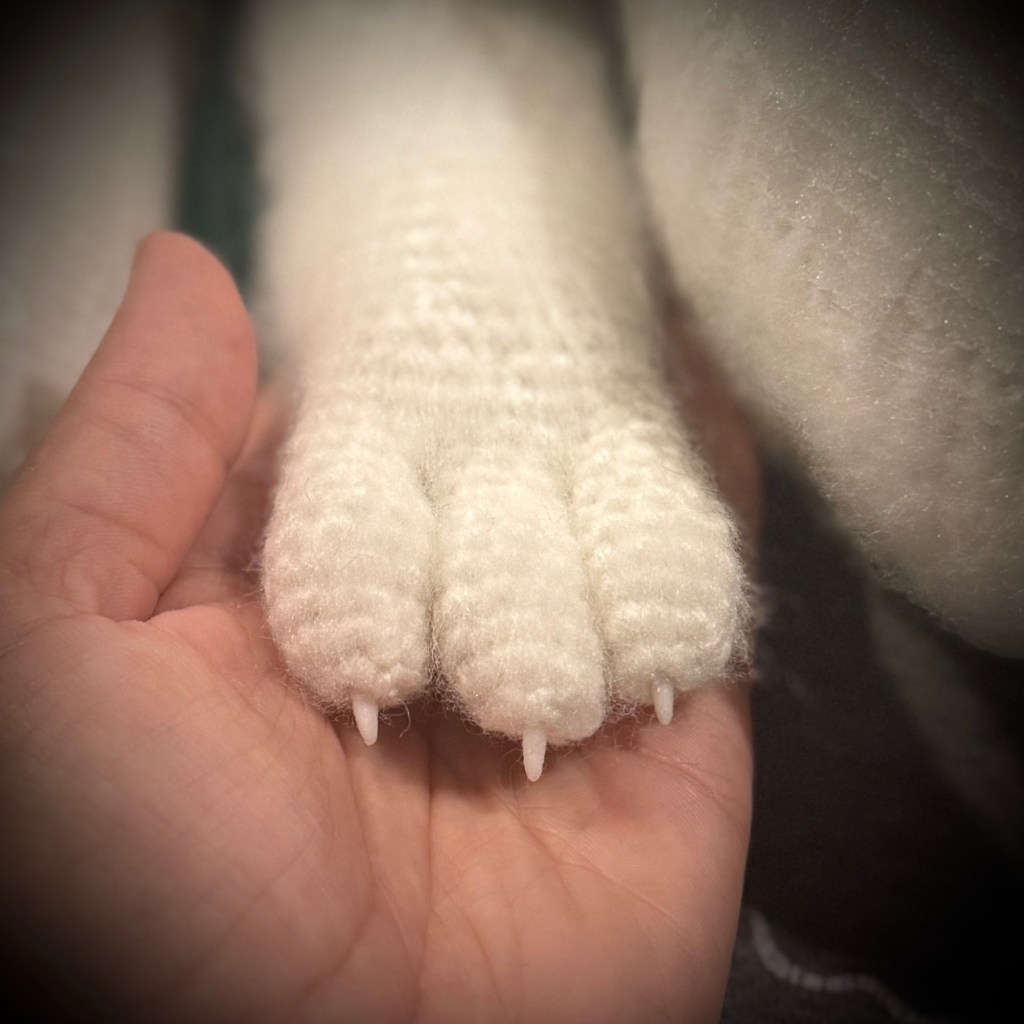
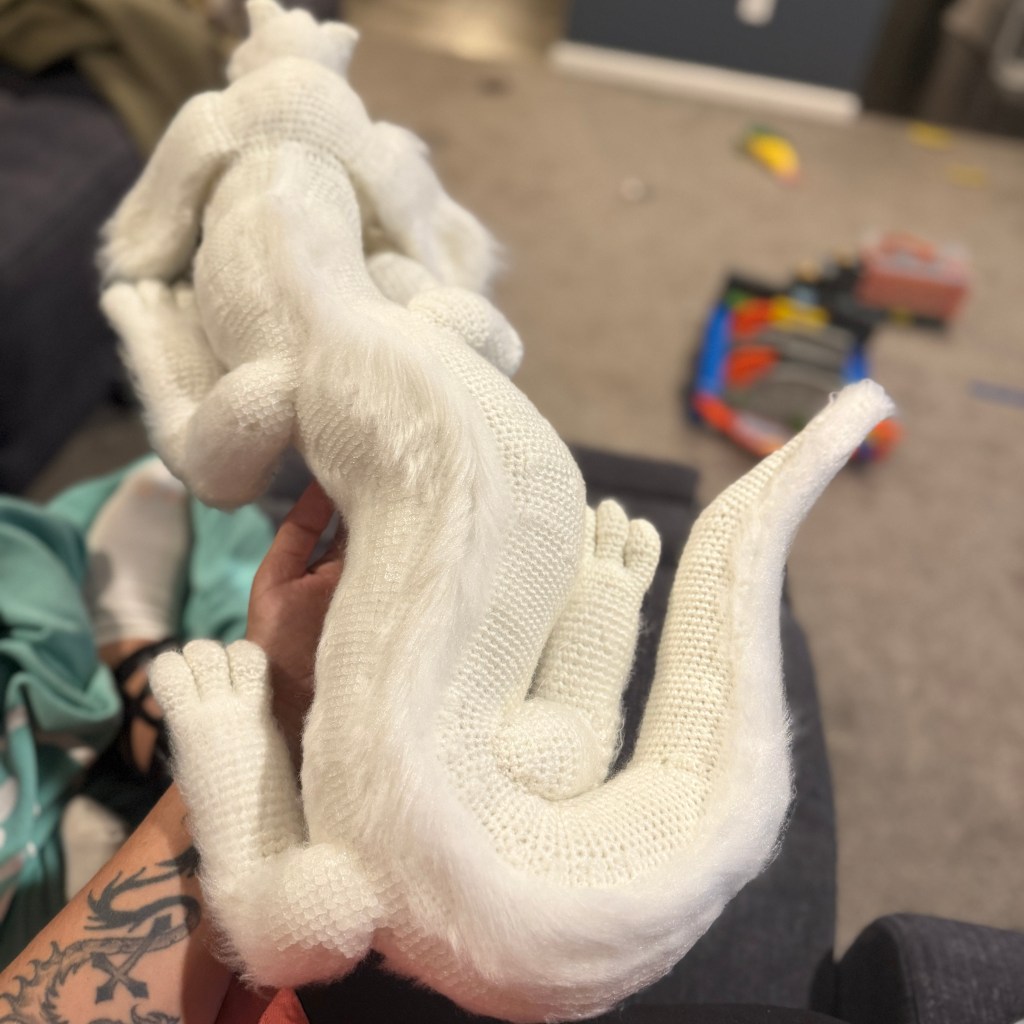
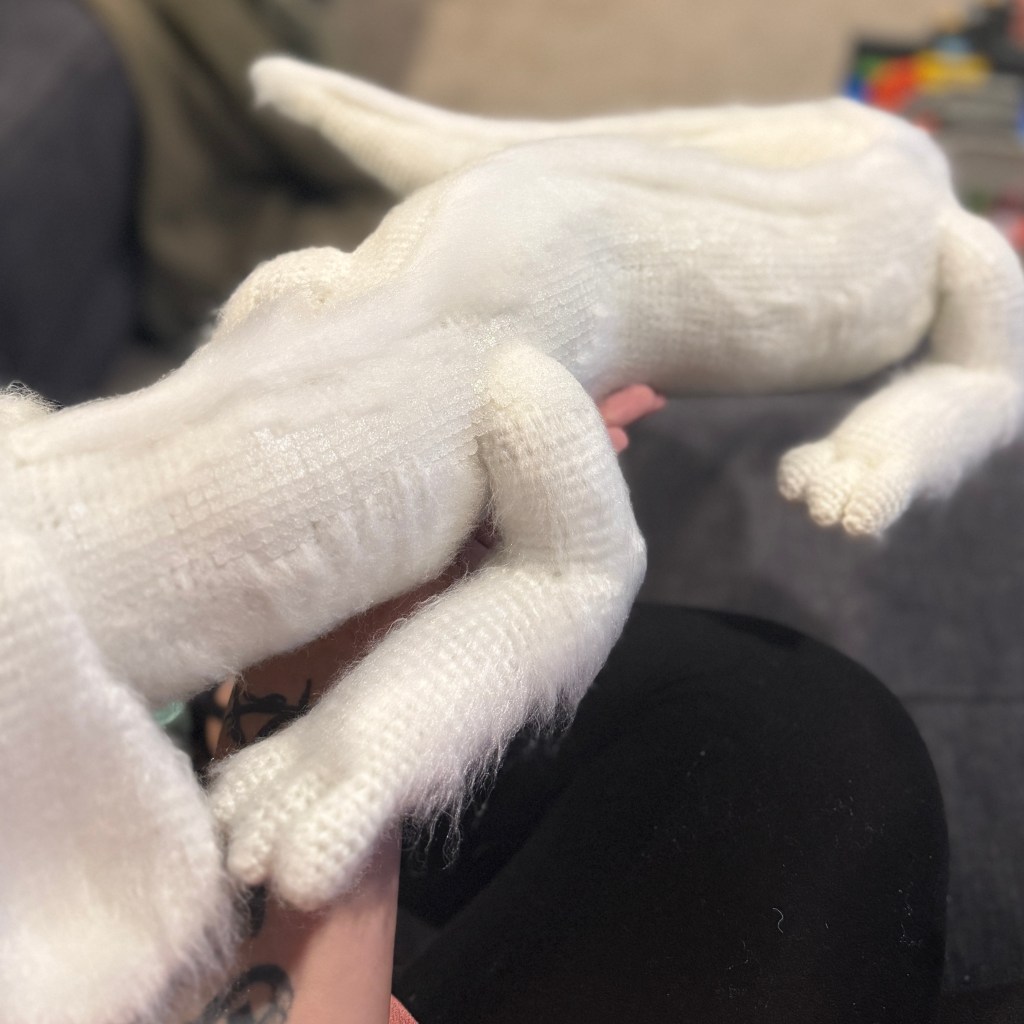
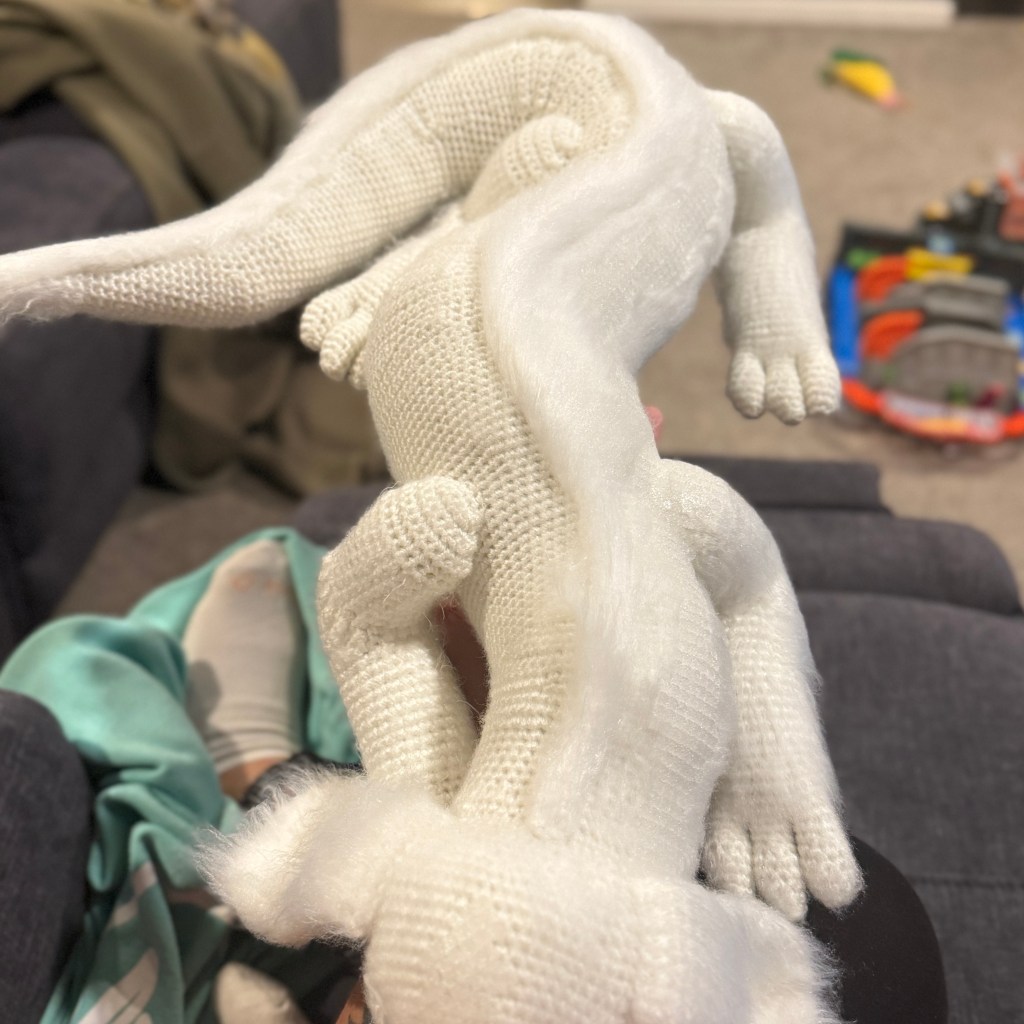
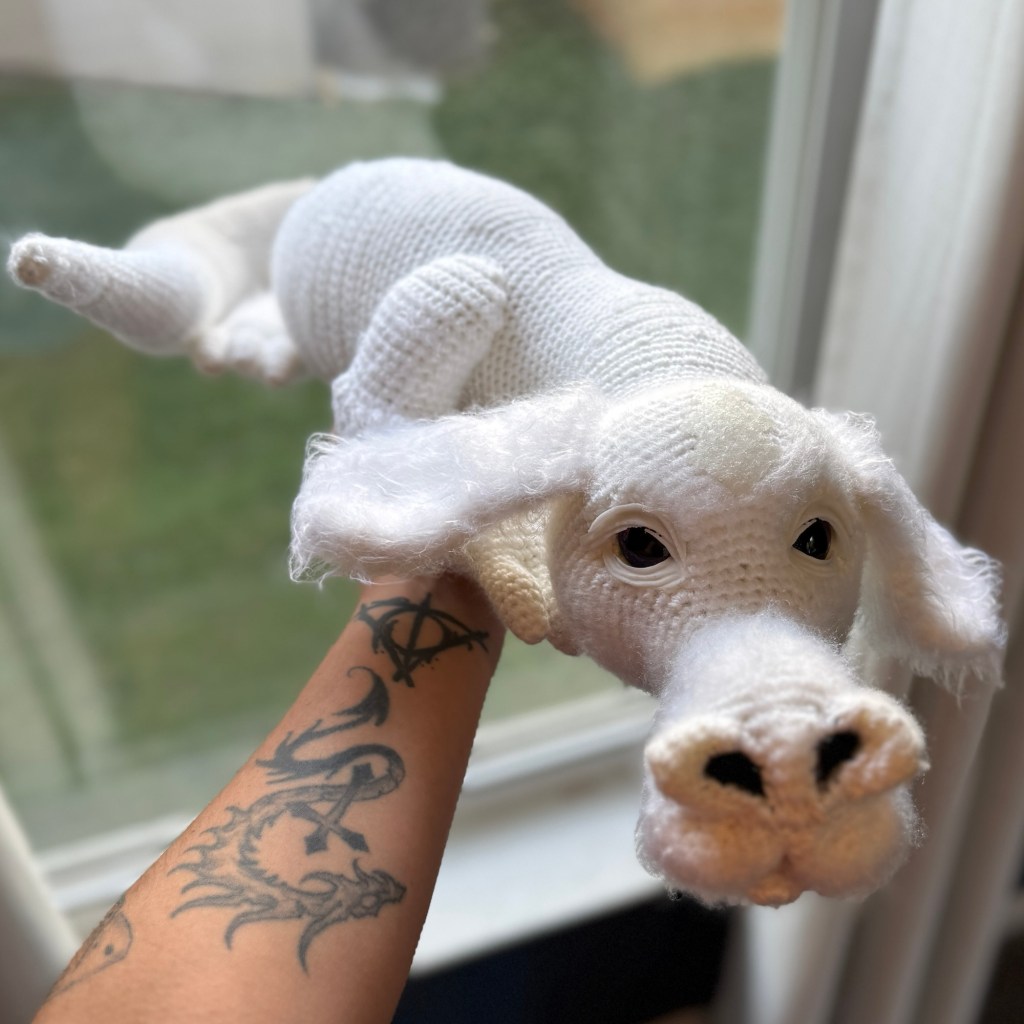
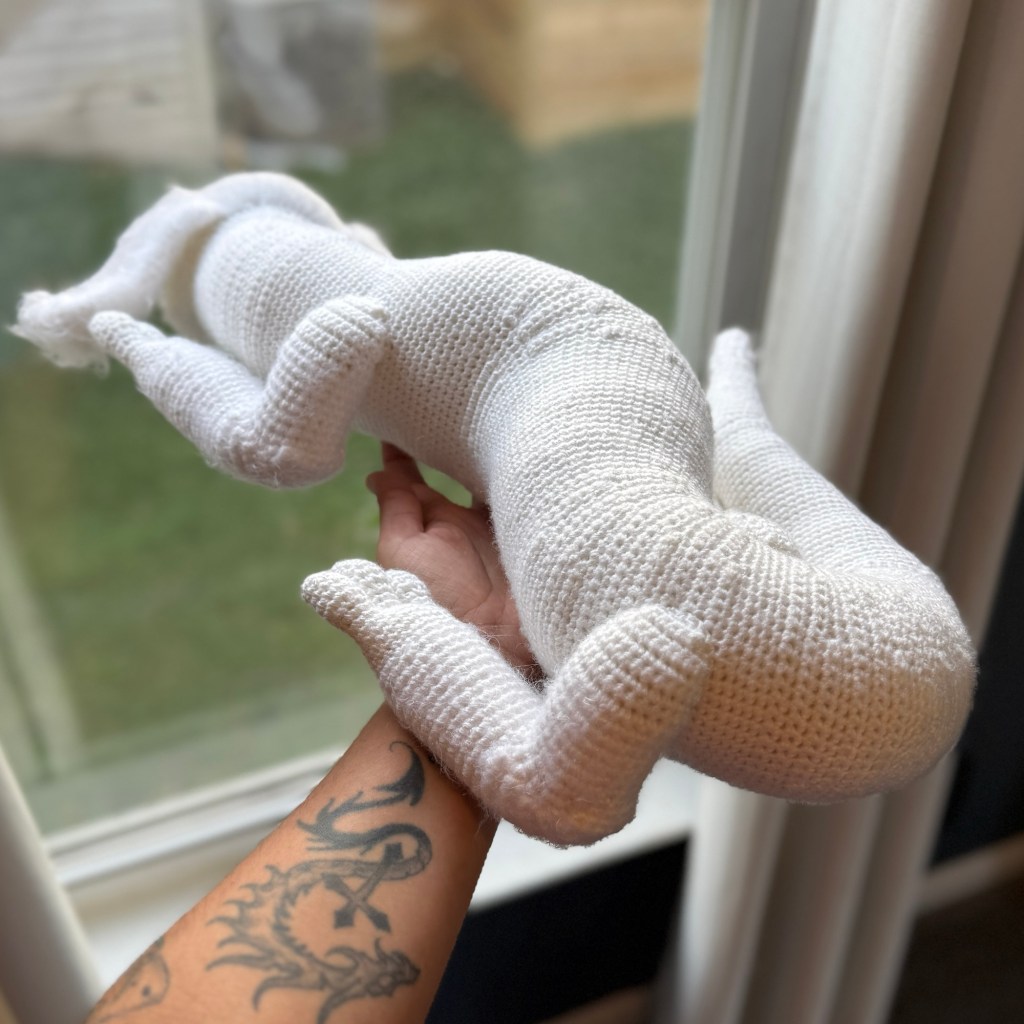
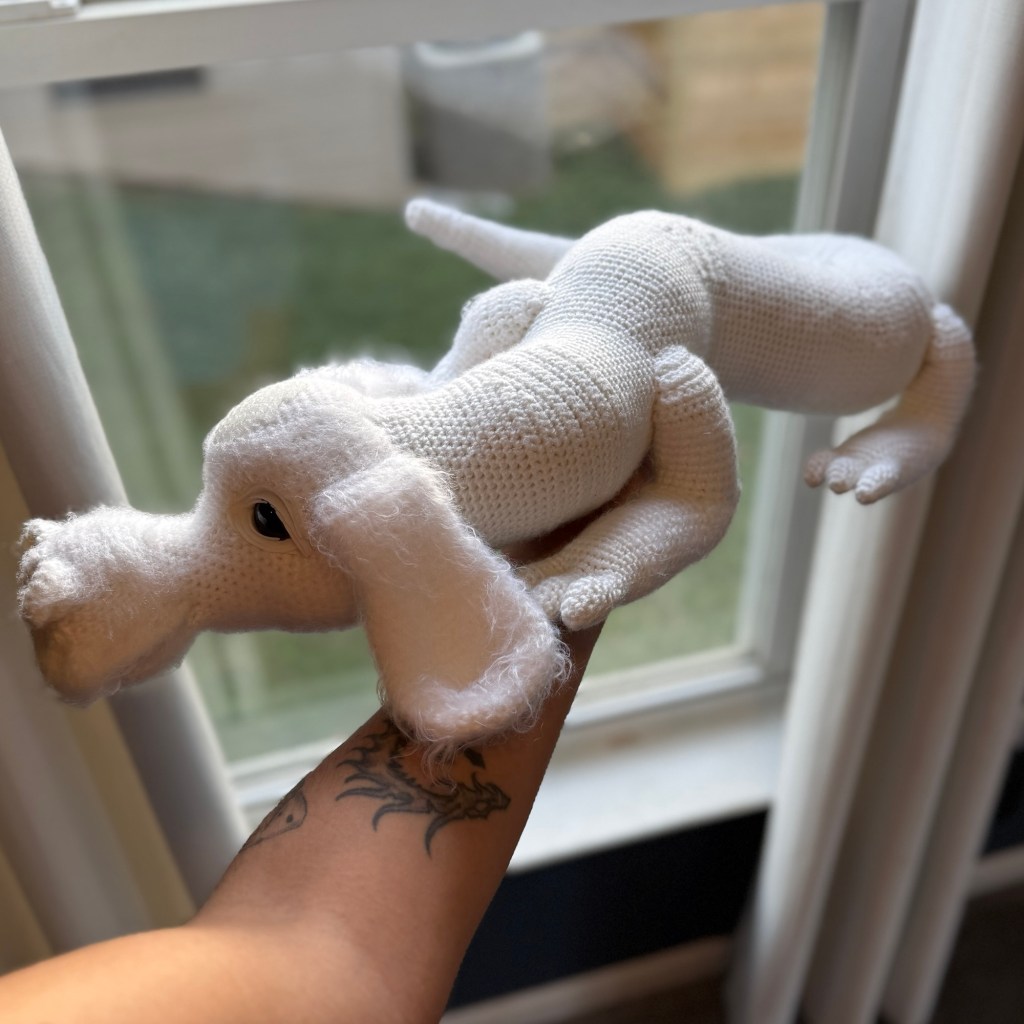
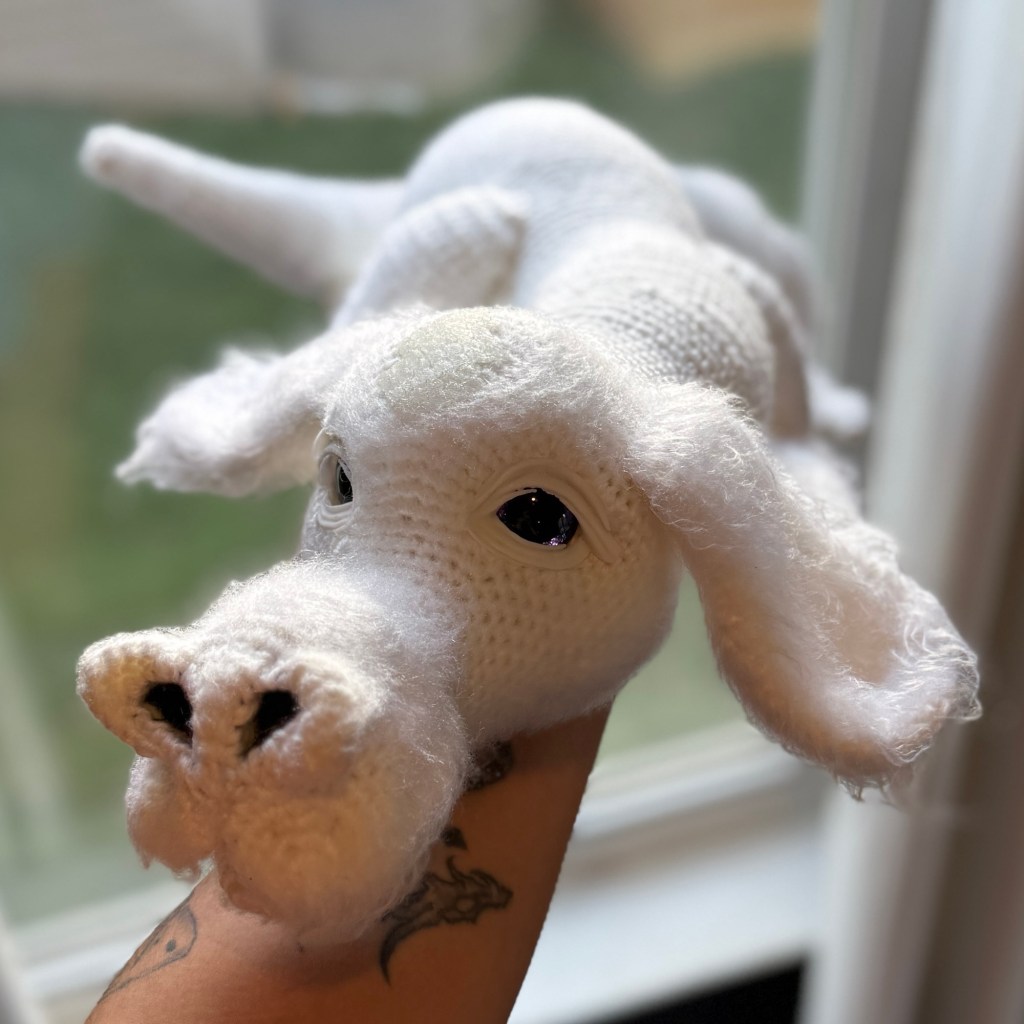
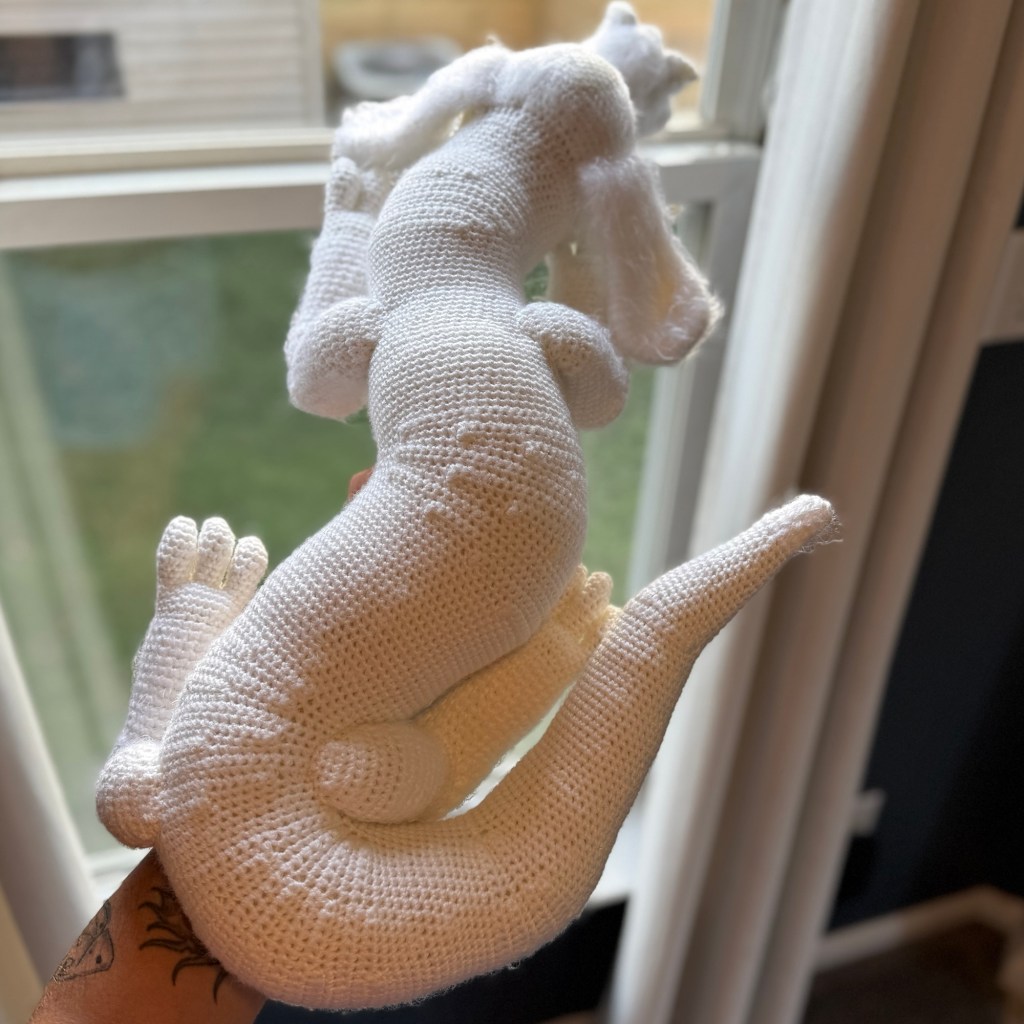
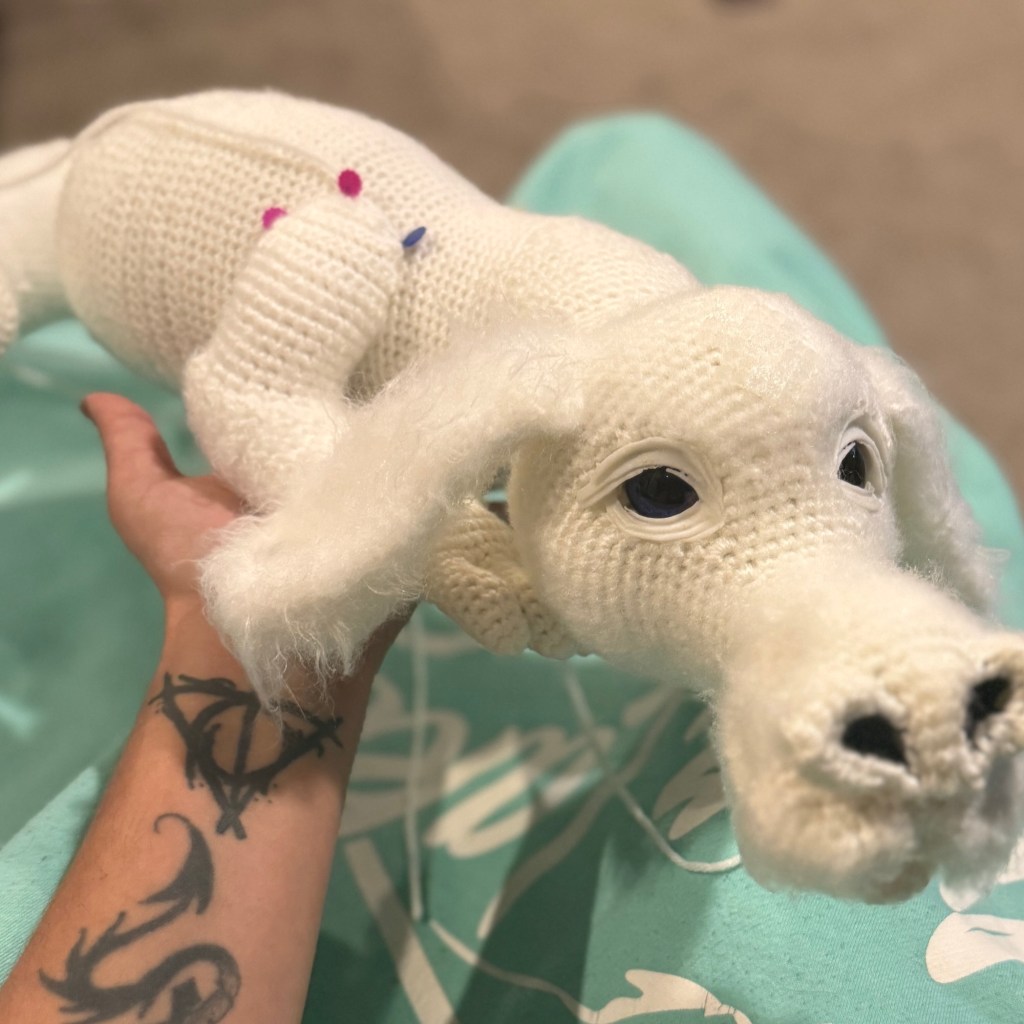
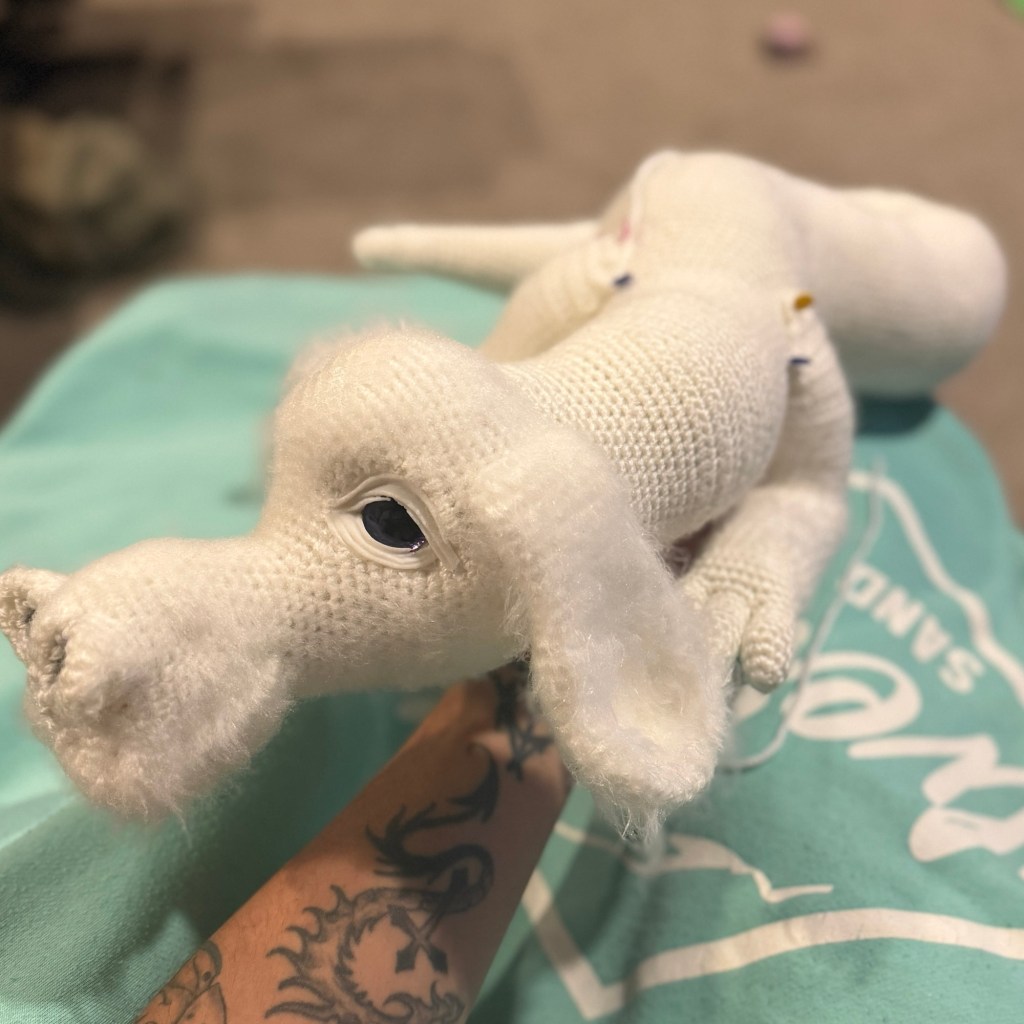
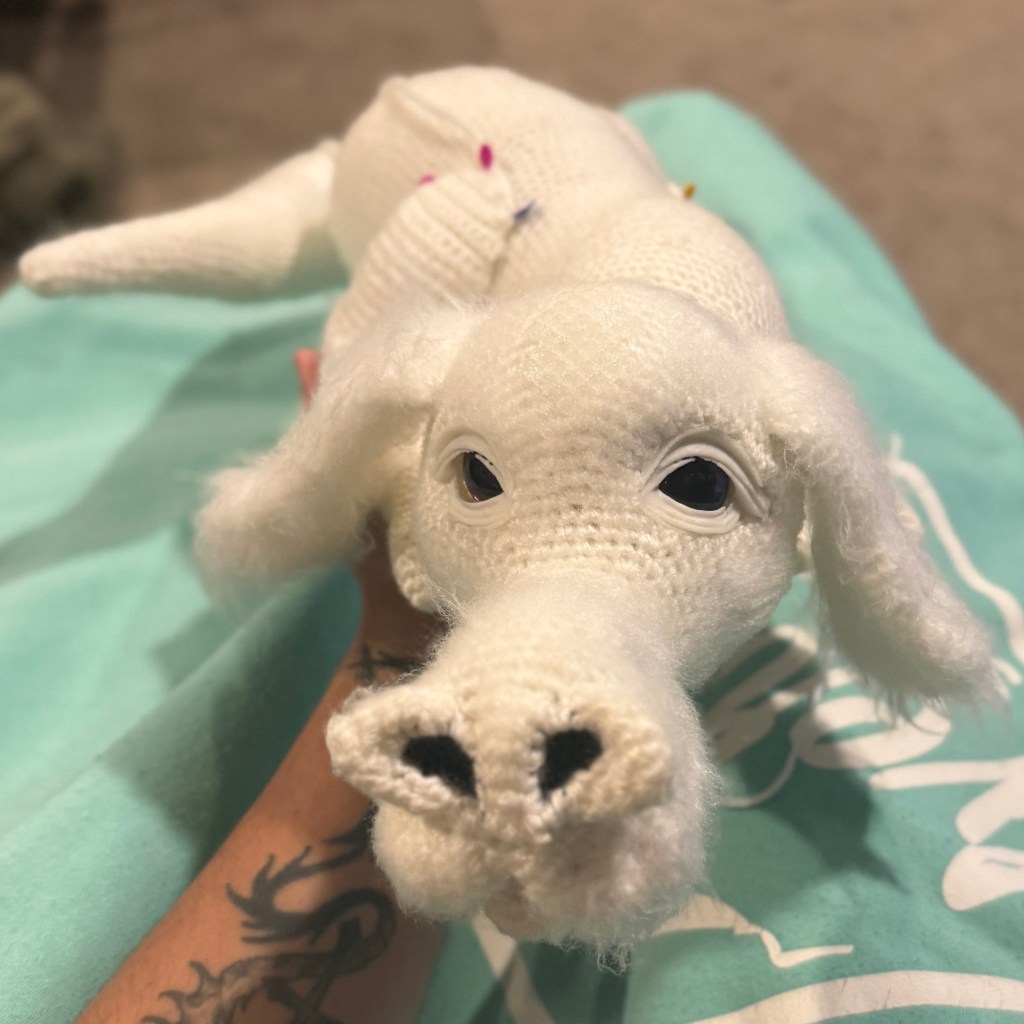
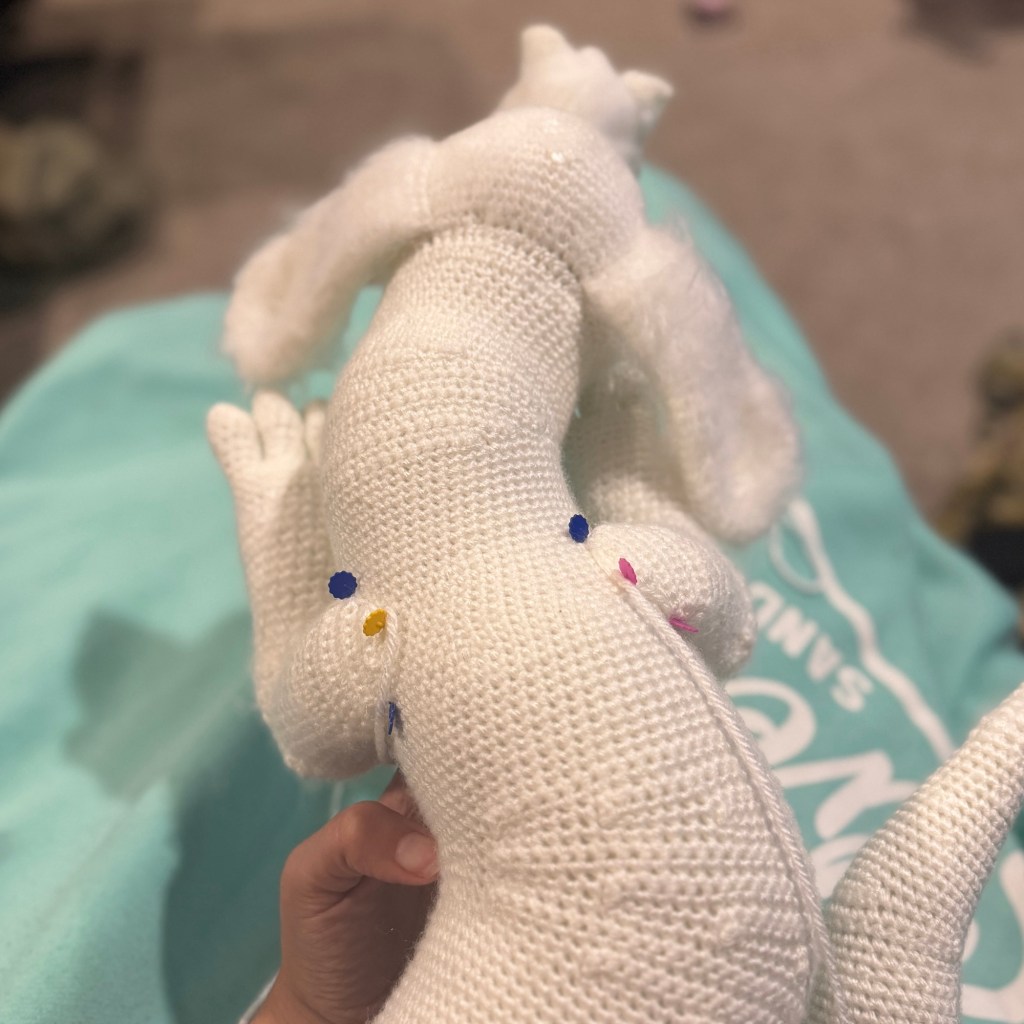
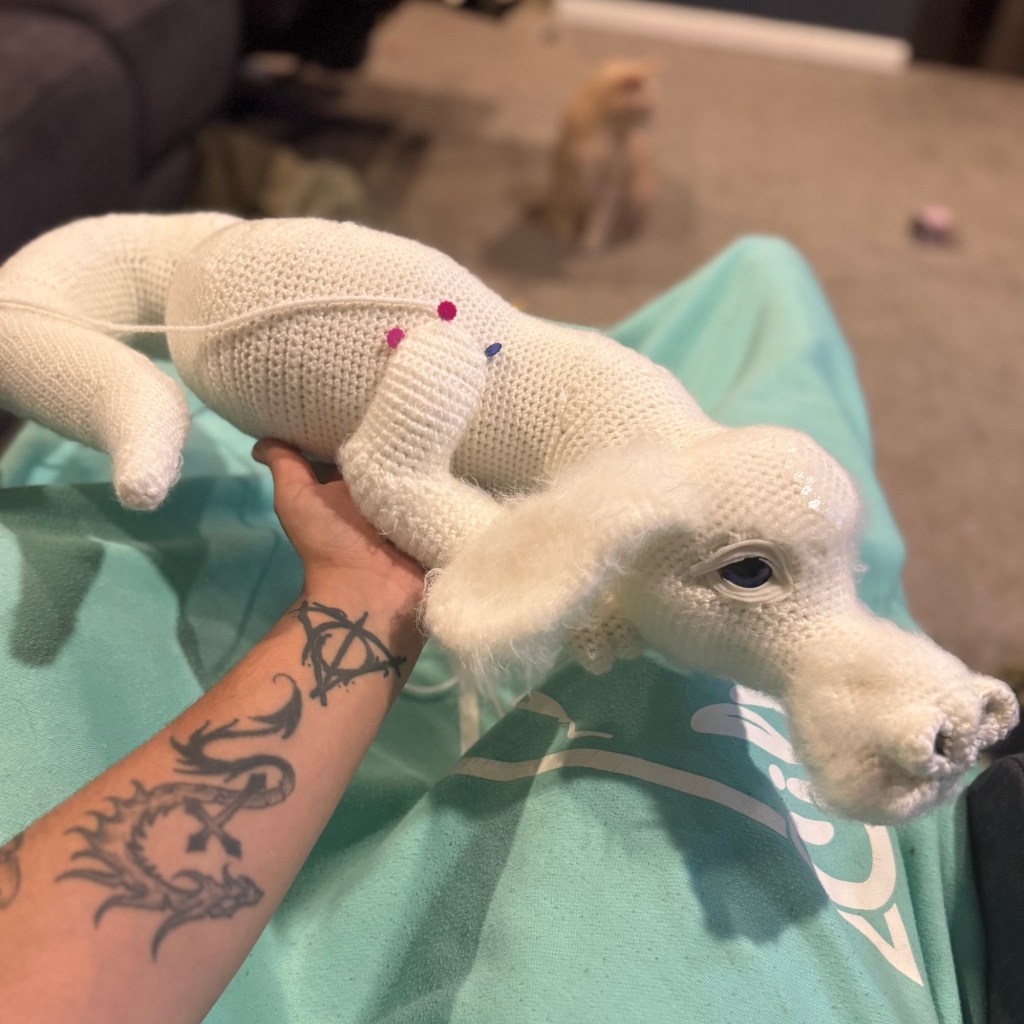
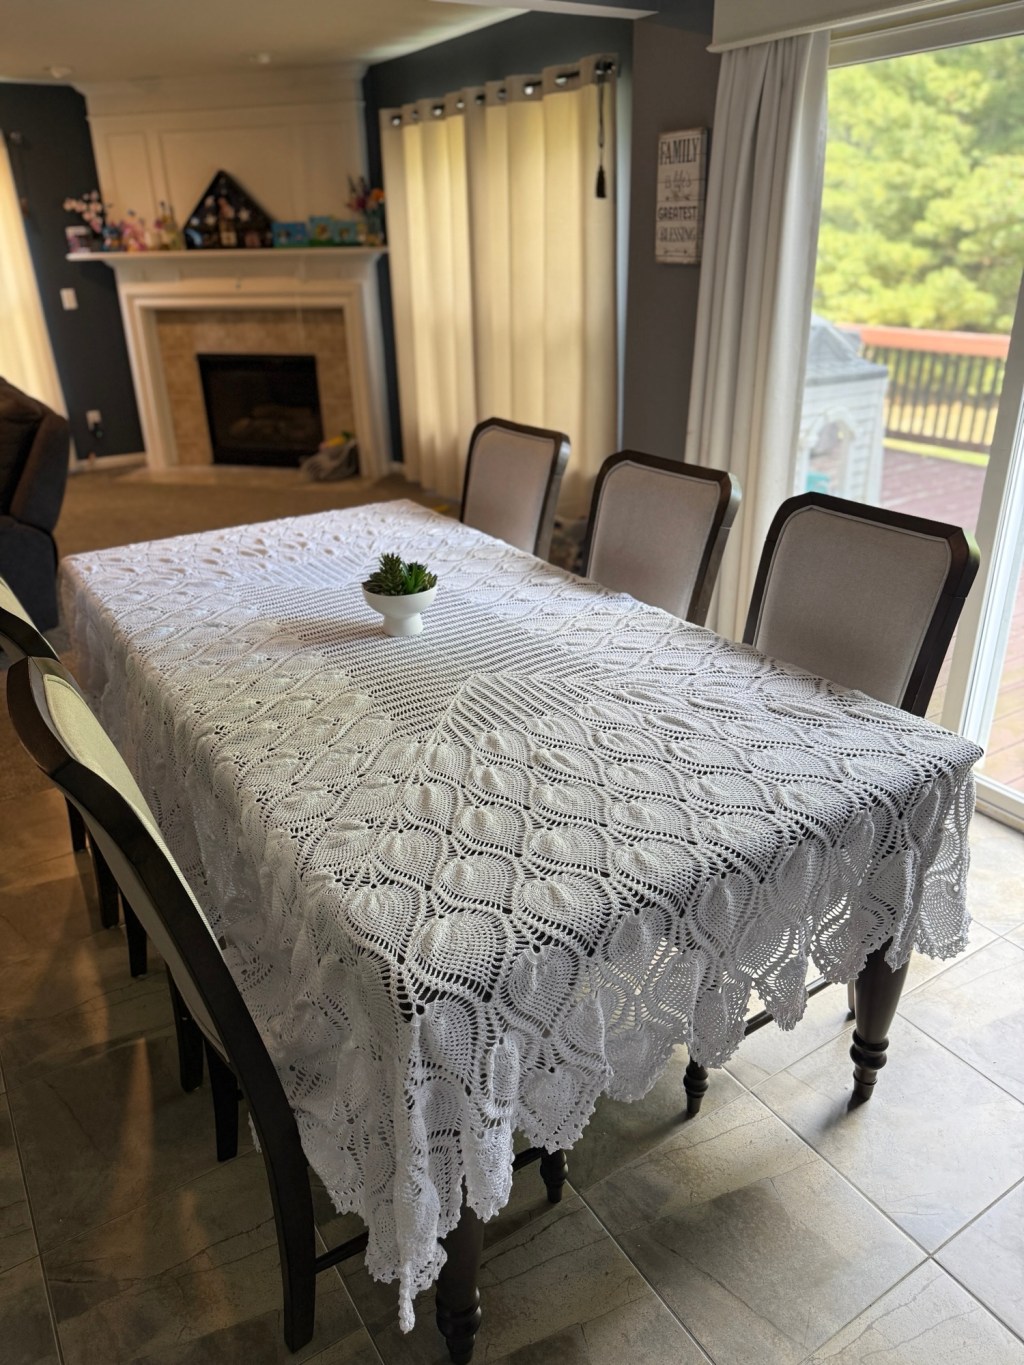
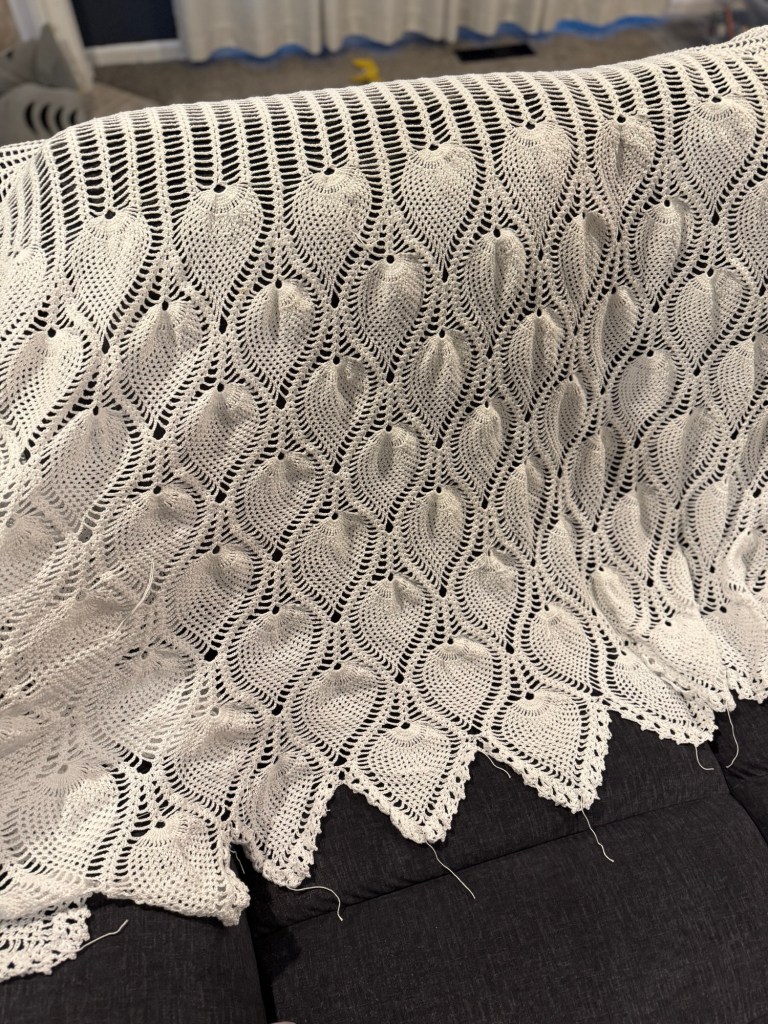
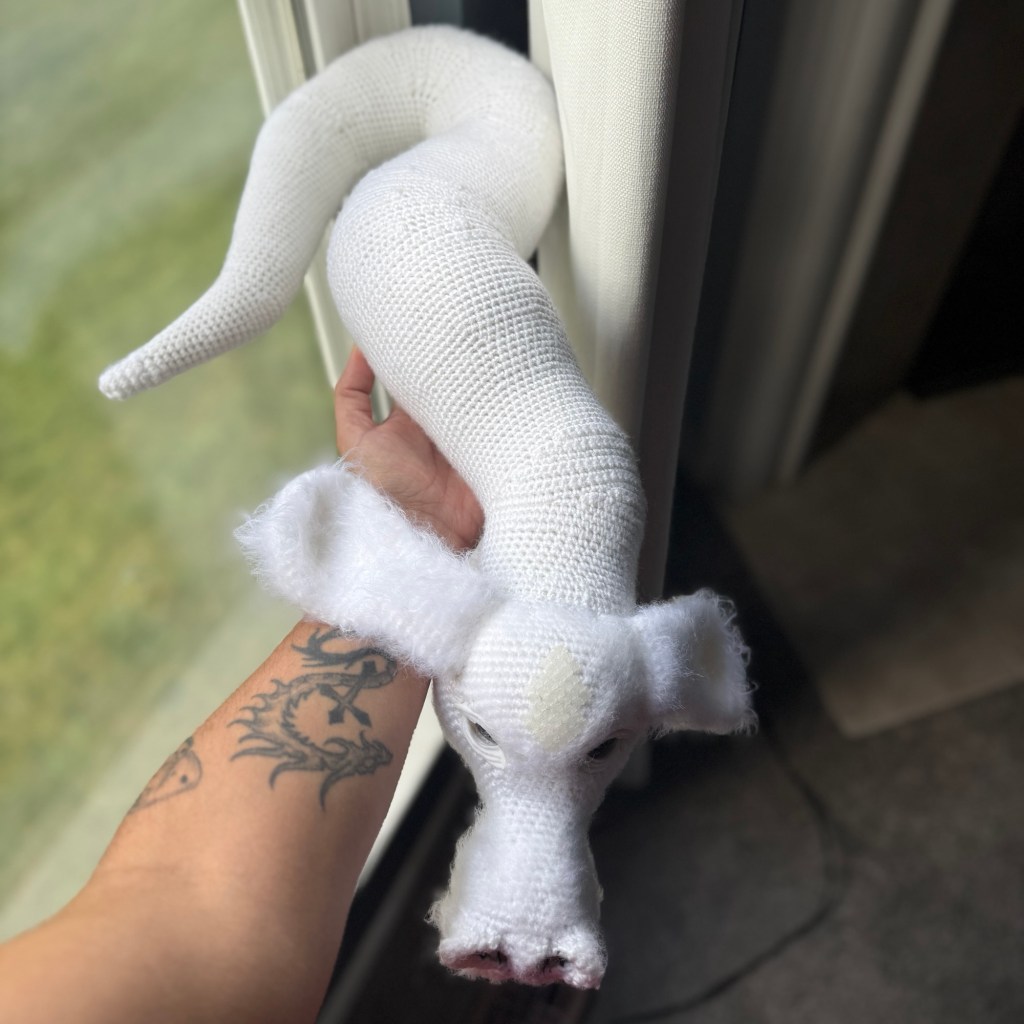
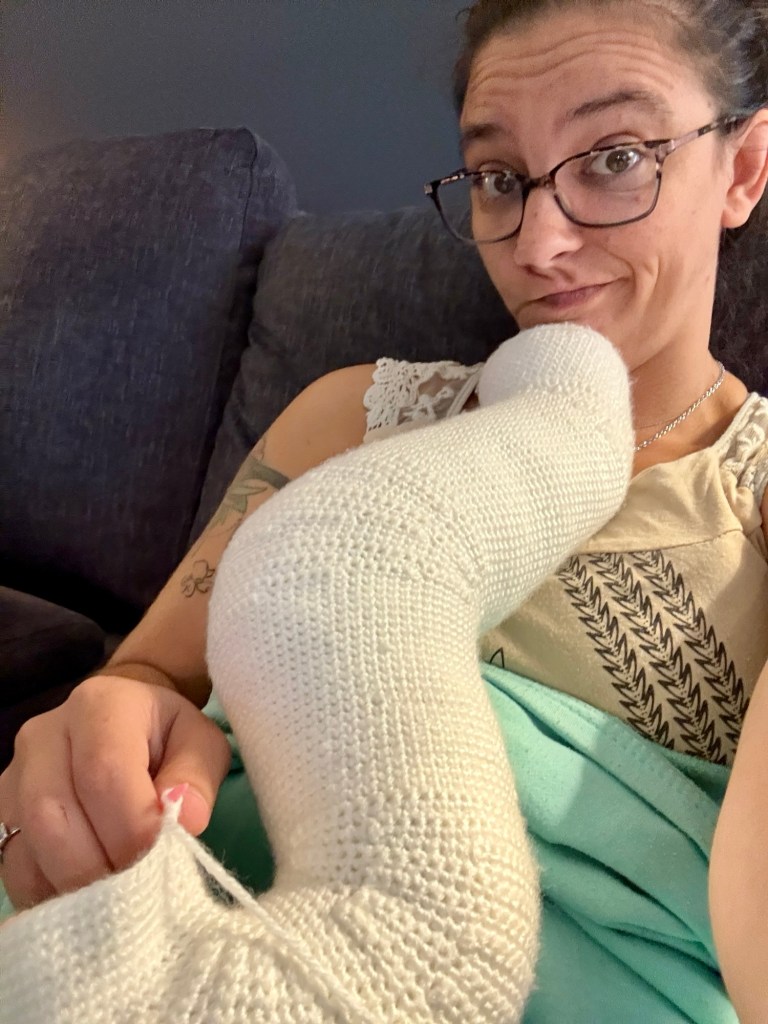
    This is going to be a long winded breakdown of how I go about pricing, and since I just finished Falkor…We’re going to use him as an extreme example. I’ll go through a few different ways I’ve heard/seen how many do their pricing, plus my own way. So strap in…Cause here comes lots of math and of course, more Falkor!

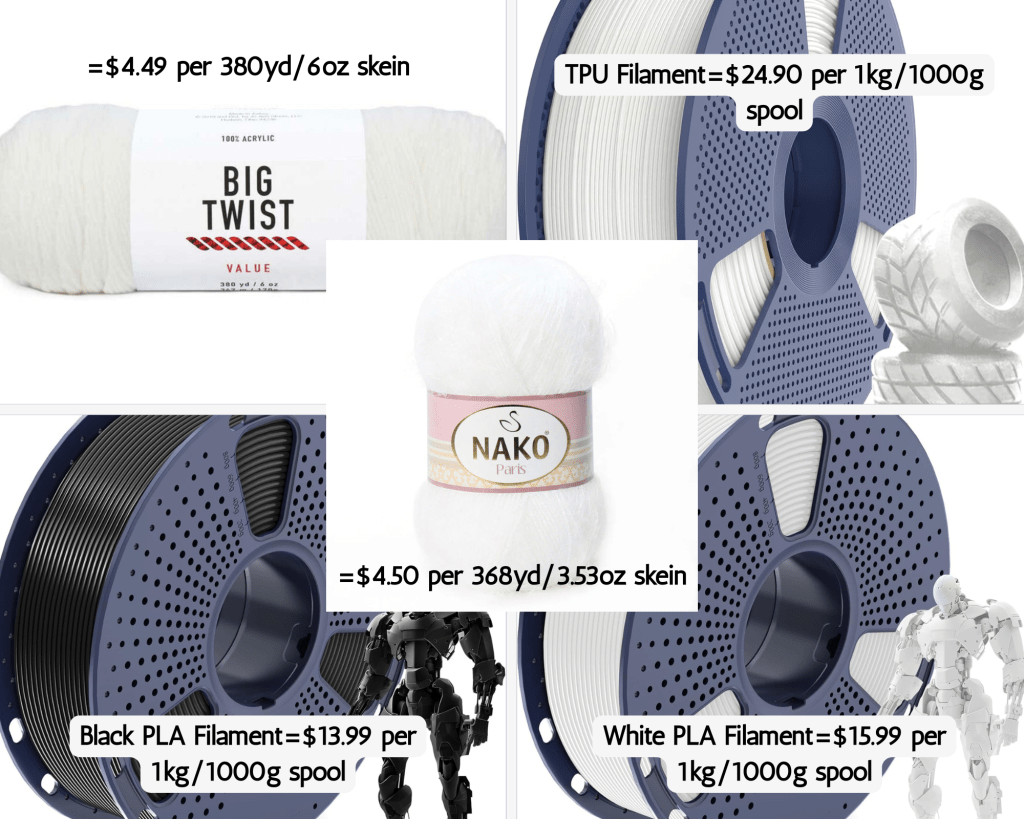
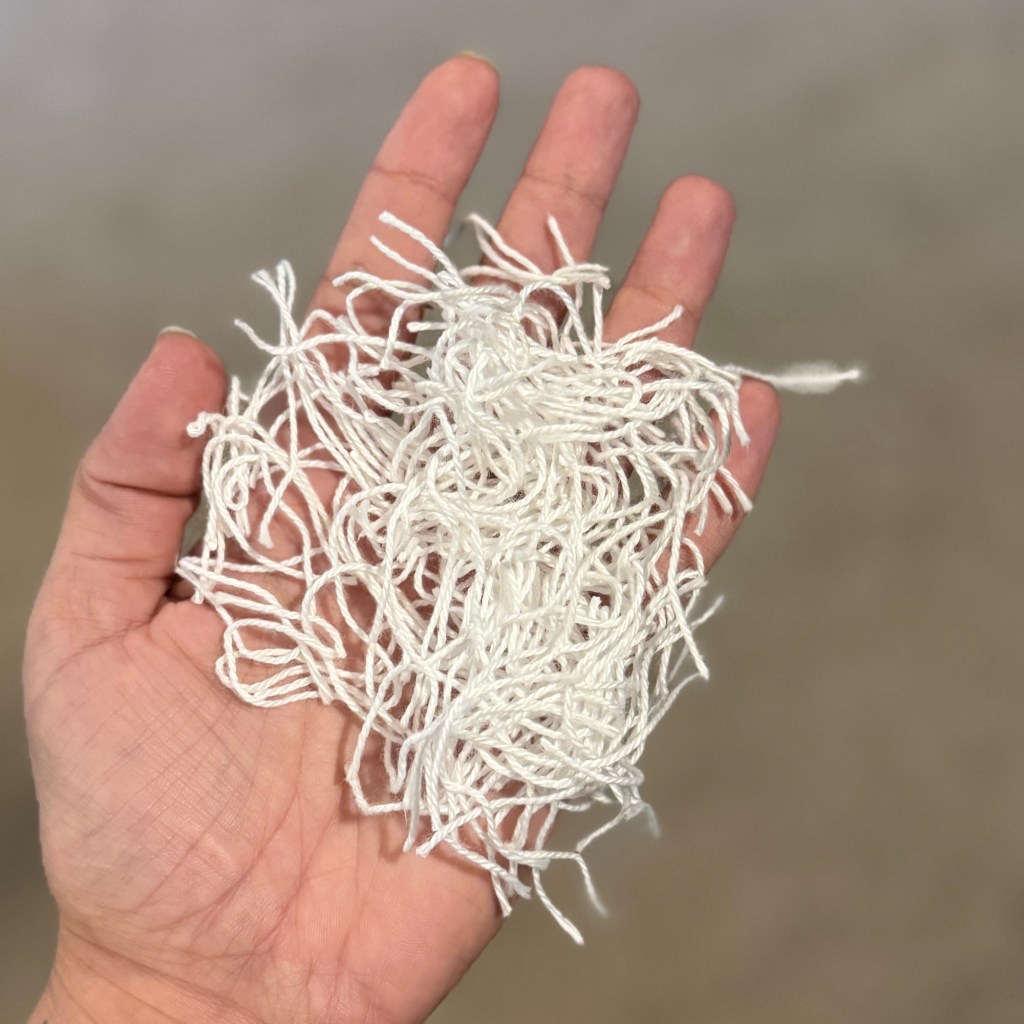
    Next to, above, or below (however you view this post) you’ll see the photo with the pricing for all my materials used. Only thing not listed is the small amount of tulle I used. I had the tulle on hand and honestly have no idea where or what brand it even is to get a price, so we will just ignore that 🫣 I also never include stuffing in my pricing, as I buy this in bulk and just don’t care to weigh out what I use.

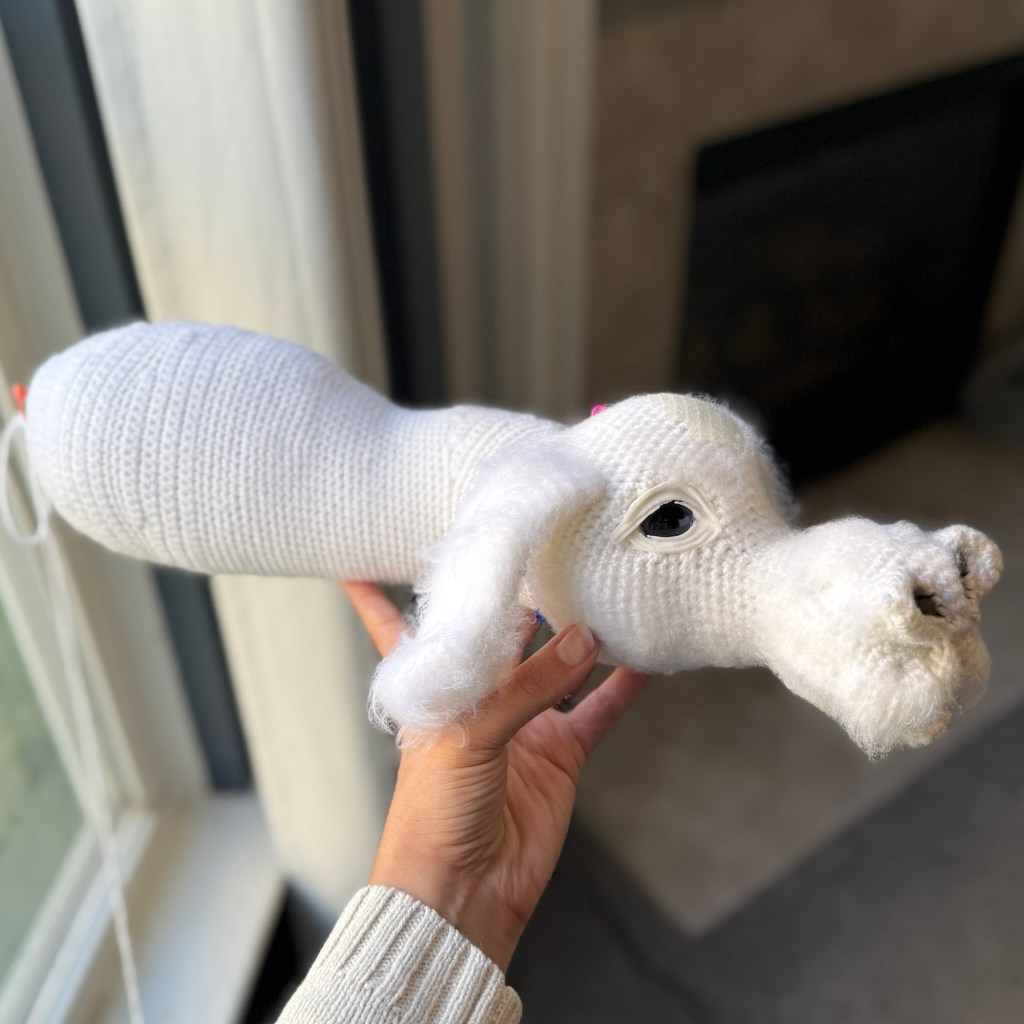
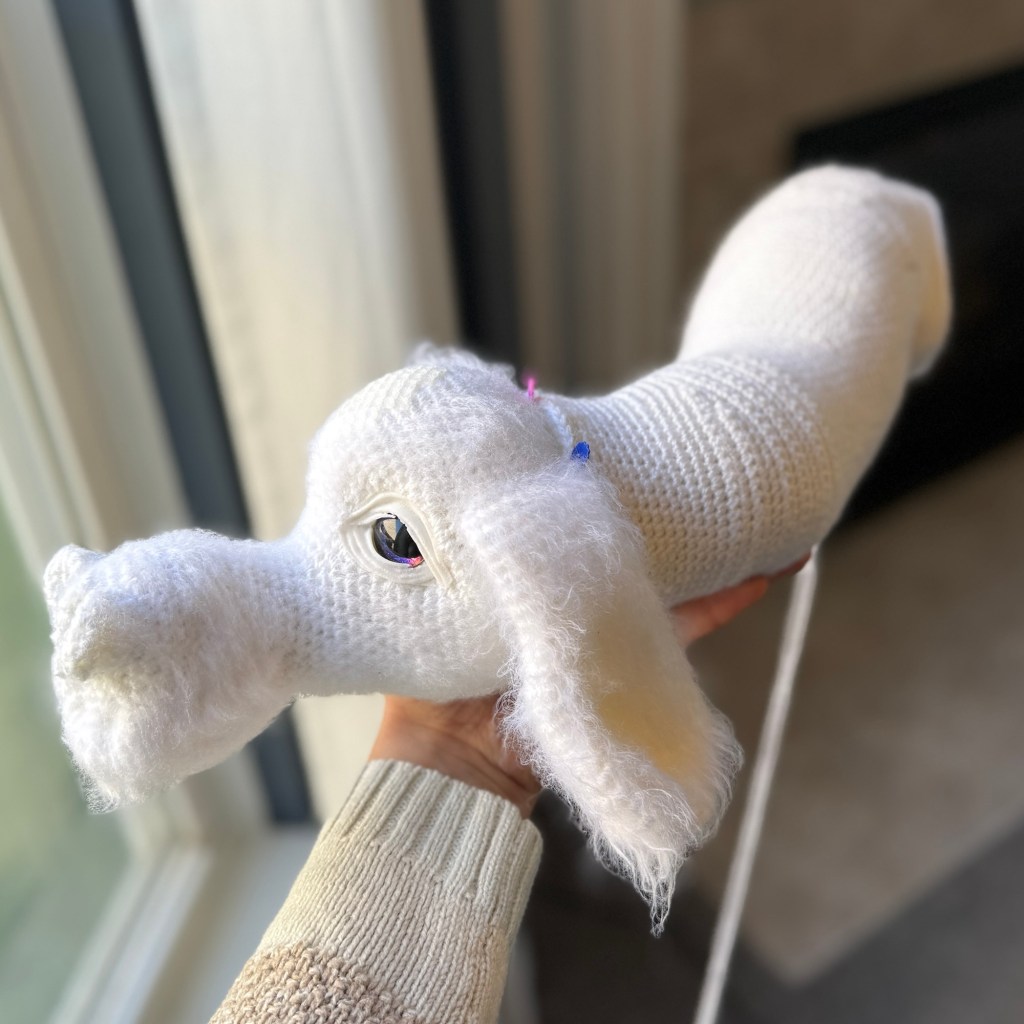
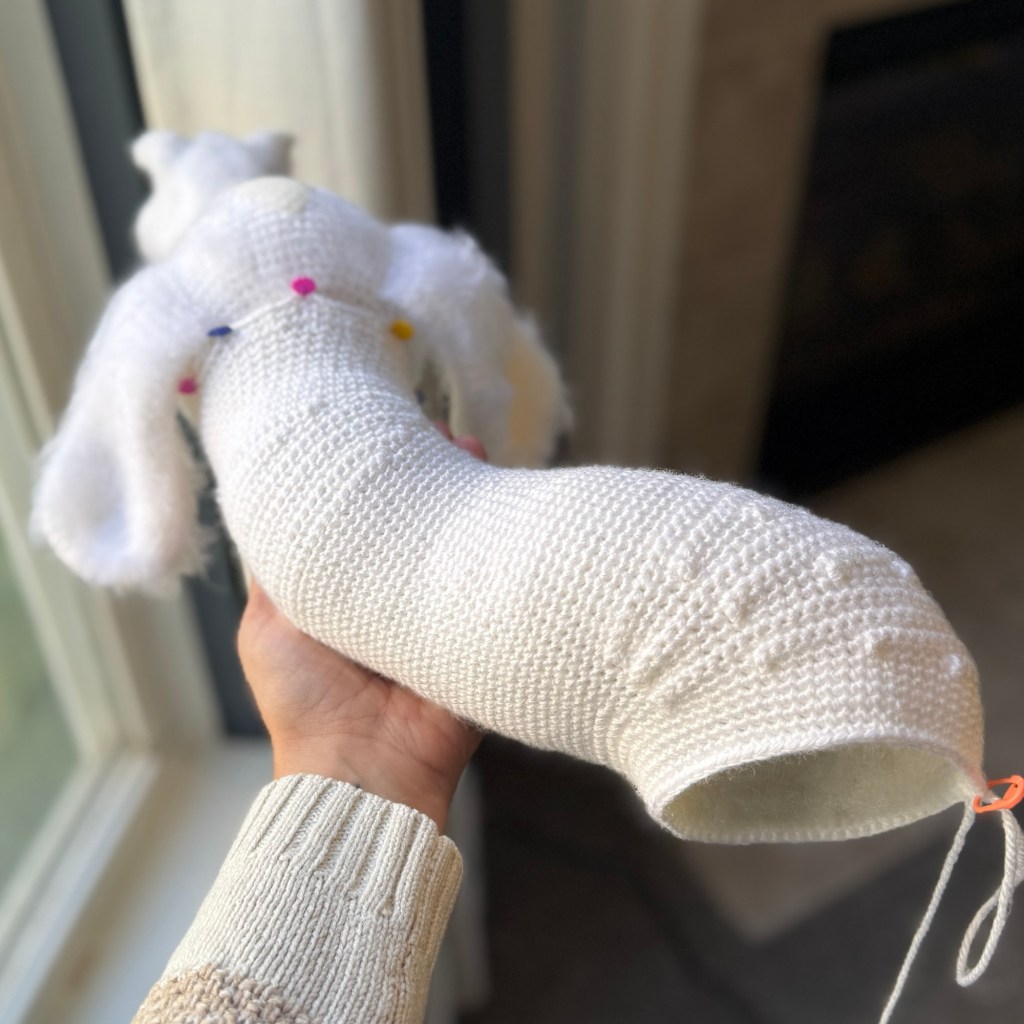
    Beyond the tulle, I used 65.22g of TPU filament, 2.92g of White PLA filament, 5.12g of Black PLA filament, one full 3.53oz skein of Nako yarn, and a total of 13.5oz or 2 and 1/4 skeins of Big Twist yarn. Also not pictured are the specialty safety eyes from Darkside Eyes that cost $3.

    Now here is where I see a LOT of people say to charge 3x the cost of materials going off their retail values. Basically as if I had to buy everything initially. So if I follow this rule, the “price” for Falkor based on what other’s believe would be…$227.55. Now while that does sound reasonable, it’s really not. Remember I spent 56 hours making this guy. Not to mention, I don’t really find it fair at all to charge full retail cost of the materials when I didn’t use every last bit of them. I personally only include actual USED material cost when it comes to my pricing. So I’ll break that down for you on the chart below in how I figure that out.

    White PLA filament=$15.99 for 1000g…
    I used only 2.92g
    $15.99/1000=$0.02 per gram…
    $0.02 x 2.92g Used=$0.06 actual material cost
    Black PLA Filament=$13.99 for 1000g…
    I used 5.15g
    $13.99/1000=$0.01 per gram…
    $0.01 x 5.15g Used=$0.05 actual material cost
    TPU Filament=$24.90 for 1000g…
    I used 65.22g
    $24.90/1000=$0.02 per gram…
    $0.02 x 65.22=$1.30 actual material cost
    Big Twist Yarn=$4.49 per 6oz skein (x3 =$13.47)…
    I used 13.5oz or 2 and 1/4 skeins
    $4.49/6=$0.75 per ounce… 2 full skeins=$8.98
    3rd skein=$0.75 x 1.5=$1.13
    $8.98+$1.13=$10.11 actual material cost
    Nako Yarn=$4.50 per 3.53oz skein…I used a full one
    Safety Eyes=$3
    $4.50+$3=$7.50 actual material cost
    Following “Usual” Rule…Cost=$75.85
    $75.85 x 3=$227.55 “material cost”
    Following “My” Rule…Cost=$19.02 actual material cost…and even if I x3 that’s still only $57.06 which 100% does not cover the work put in.

    Hopefully my breakdown chart makes sense, I know not everyone enjoys doing the math. Yet, I really feel it necessary to STOP people from doing the 3x material cost “rule” because it’s just wrong.

    In my opinion you’re OVERcharging your clients for materials you don’t use all the way. I still have plenty of filament for several other prints, and more than enough of the big twist yarn for quite a few other things depending on what I choose to make.

    It’s not right! So stop doing it this way…please! Just do the math. It’ll honestly keep your prices more affordable in the long run, and people more than likely to buy. ESPECIALLY for the quick makes that almost never use a full skein and you can make several of something from just one skein!

    Anyways!! Moving on…Now that we’ve figured out my true material cost ($19.02) it’s time to figure out pricing my time to actually make him! This again I’ve seen several different ways of going about it. Charge by your local hourly minimum wage, minimum hourly tipped wage, or by number of stitches. So lets break each of those “rules” down shall we?

    Where I live the Hourly Minimum Wage =$12.48hr.
    Hourly Minimum Tipped Wage =$4.74hr.
    As for by number of stitches, most I’ve seen that use this rule charge $0.01 per stitch.

    Let’s first start with the $0.01 per stitch. By my math…Which took forever to add up By the way 🥴…Falkor has a total of 17,930 crochet stitches.

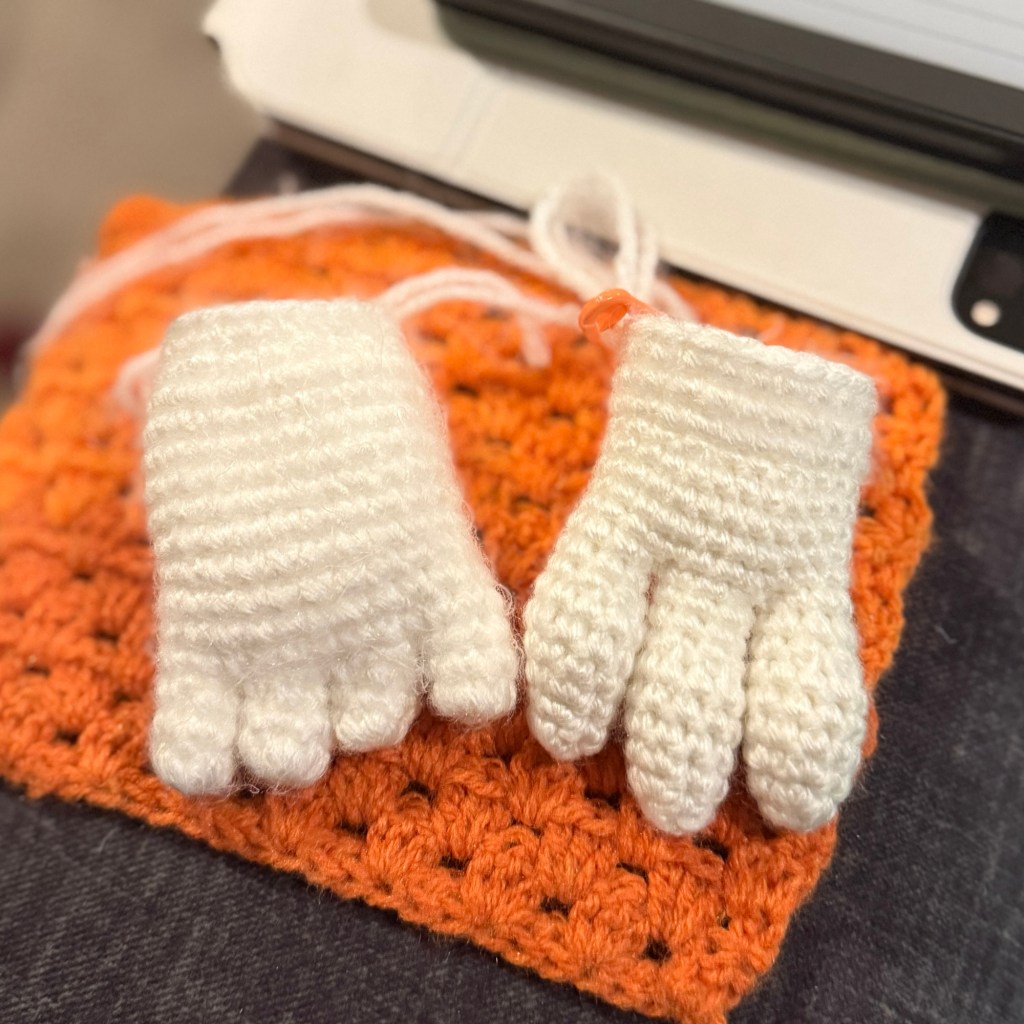
    $0.01 x 17,930 =$179.30 total JUST to crochet him. That doesn’t include my time to attach his nostrils, eyelids, the scales or the time to brush all of him out.

    That is strictly just crocheting him…

    This method could work for simple things or no-sew items, but simply does not really work for the more intricate makes that take more than just crocheting. Which takes us into the next two methods. One I see a lot, and the one I use personally.

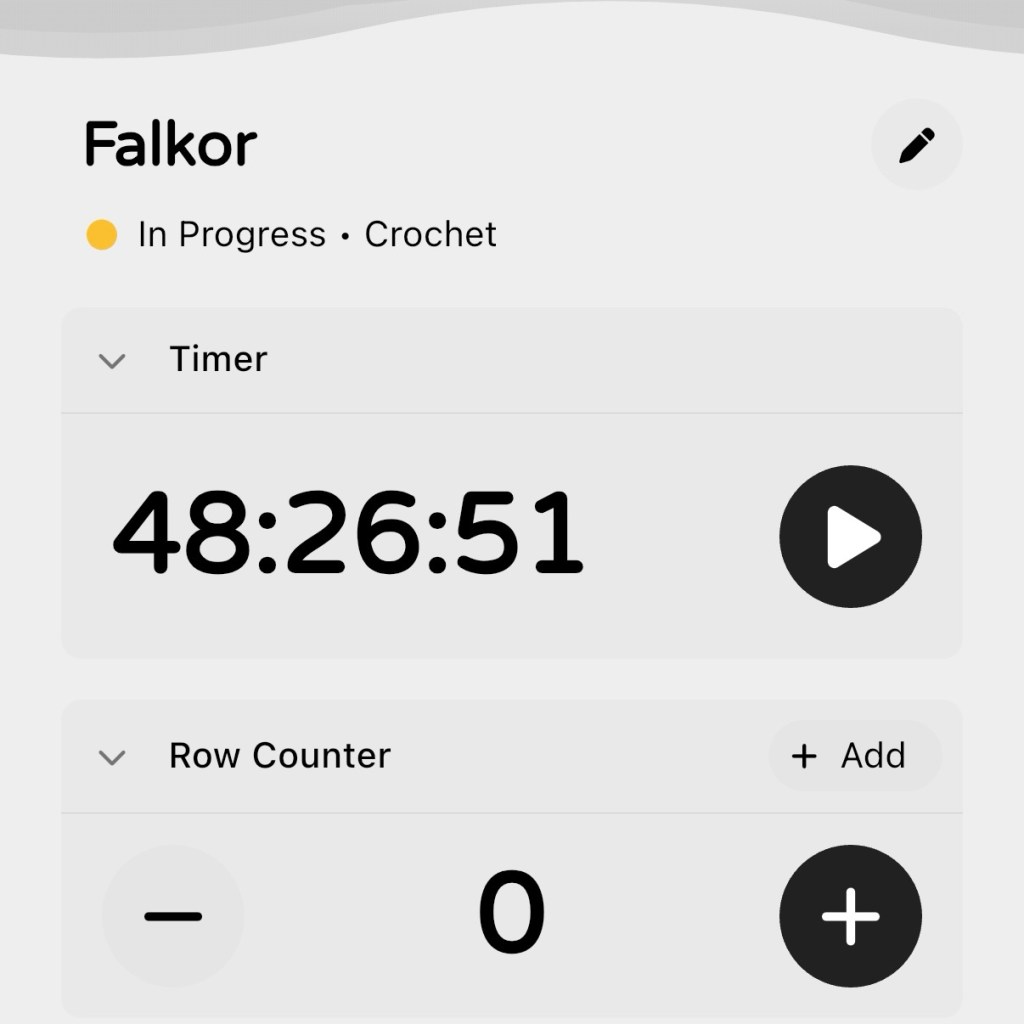
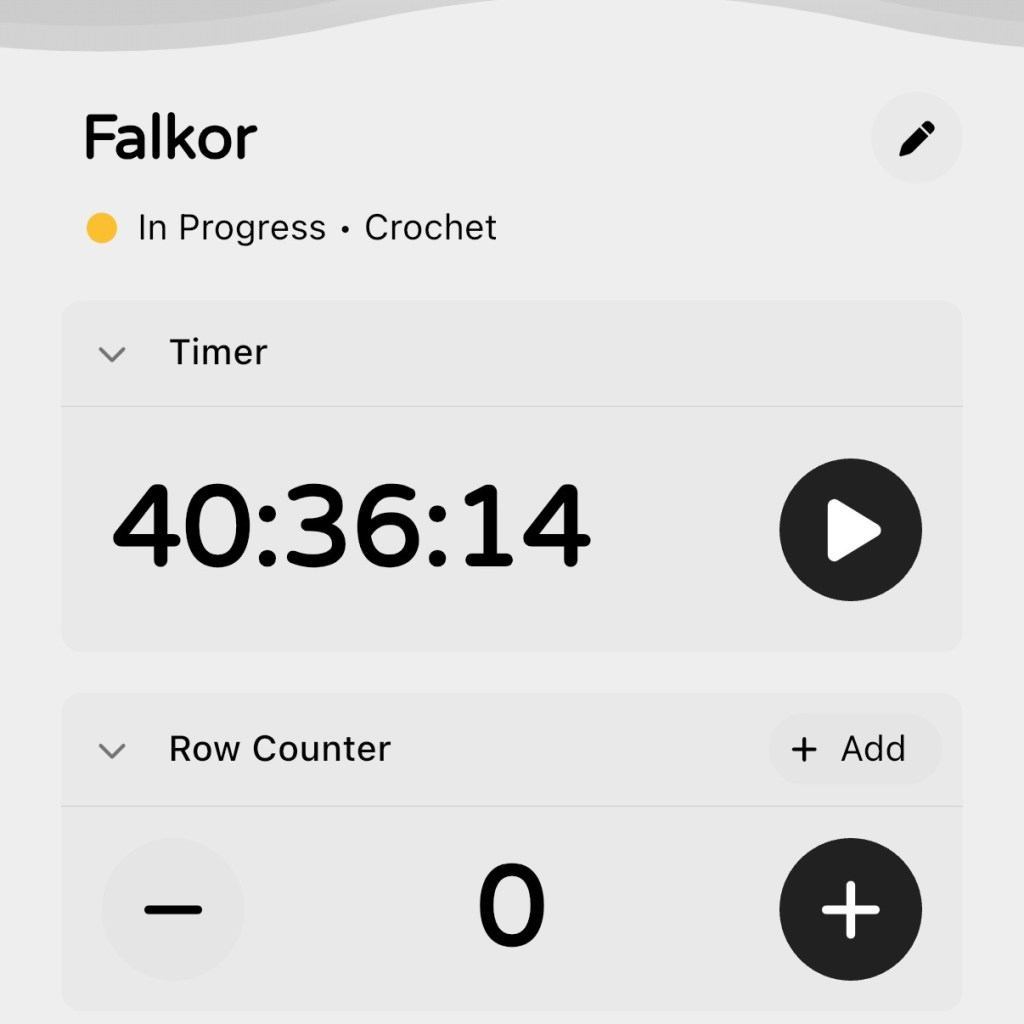
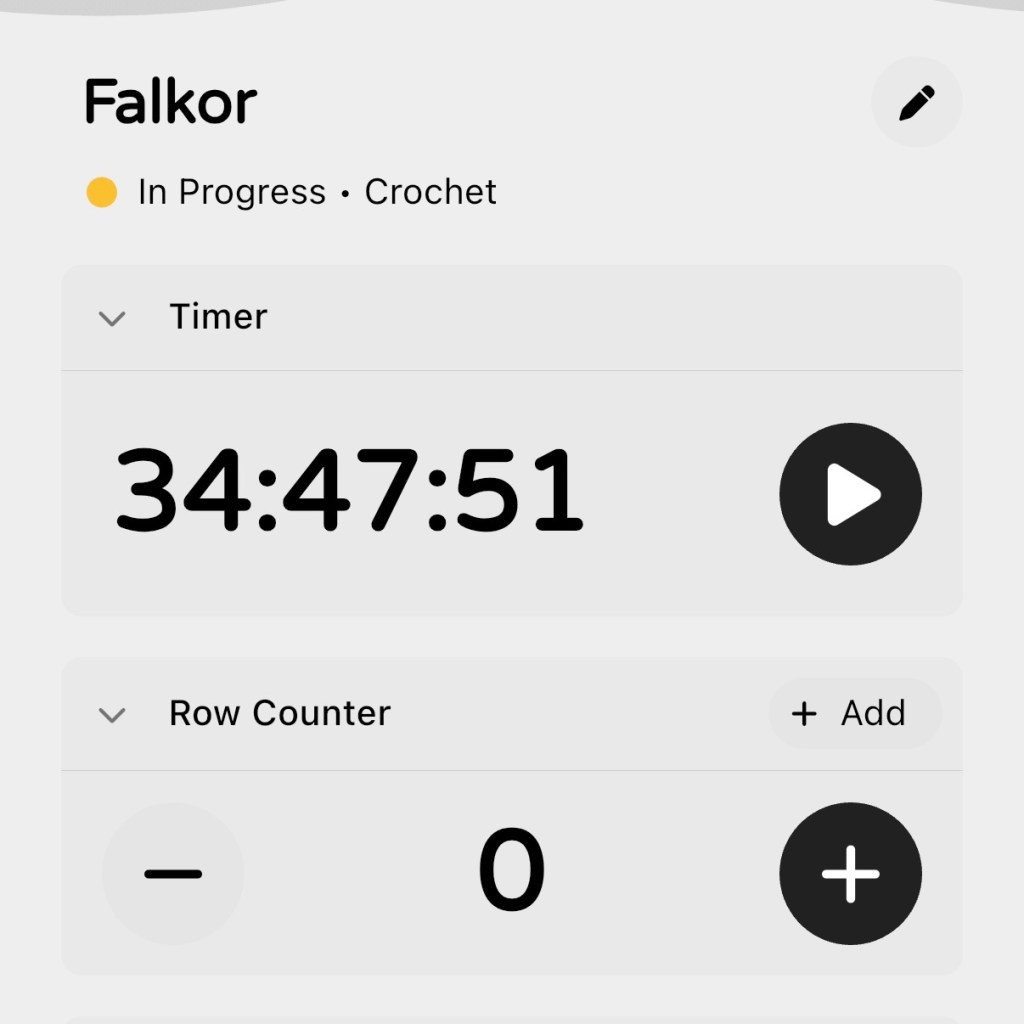
    I put 56 hours and 18 minutes of work into making this beasty (I did NOT include my 3D Printing time separately as it was running on it’s own WHILE I was crocheting.) Based on the “wages rules” and again where I’m personally located with Full Minimum Wage being $12.48hr and Tipped Minimum Wage being $4.74hr.

    That would be $702.62 at full minimum wage or $266.86 at tipped minimum wage.

    Now many people will tell you to “charge your worth” or “don’t work for free” yadda yadda. While Yes I do agree with charging your worth, however I do NOT agree with charging for More than its worth.

    And charging a Full Minimum wage just doesn’t work in my opinion. While yes, I do consider this my job…It is not very demanding by any means.

    Which is 100% why I personally go by following my local Tipping Minimum Wage. I’m not sitting in an office answering phones, or a mechanic working on cars, or any other job you would consider a “normal 9-5” job. I am in my opinion providing a service with the skills I have available to me. So I will price my things as such, and I’m sure there will be several that don’t agree with this way of thinking. Which is totally fine by me, I’m not here to please everyone, just here to spread help and awareness.

    Anyway, everyone loves a good chart, so here’s another one to put all these different methods into perspective and hopefully help you decide on your own way of pricing things in the future.

    Method Used
    ”Retail” Material Cost $75.85×3 =$227.55 Total
    “Actual” Material Cost $19.02×3=$57.06 Total
    +”Retail” Material Cost ($75.85)+”Acutal” Material Cost ($19.02)
    17,930stiches x $0.01 per Stitch=$179.30+$75.85=$255.15 Total=$179.30+$19.02=$198.32 Total
    Local Minimum Wage
    $12.48hr x 56hr18min
    =$702.62+$75.85=$778.47 Total=$702.62+$19.02=$721.64 Total
    Local Tipped Minimum Wage
    $4.74 x 56hr18min
    =$266.86+$75.85=$342.71 Total=$266.86+$19.02=$285.88 Total

    With all that, we’ve reached the end! So what will it cost to order a custom made Falkor of your own? $285.88 (Plus shipping as that changes depending on your location.)

    If you have any questions at all, please do not hesitate to ask! Either in the comments, message me on Insta, or email me directly at C3Fiberarts@gmail.com

    I’m always happy to help, or explain something further ❤️

    Now if you’re wanting your own Falkor you can reach out to me in the same way! As he does take quite a bit of time I won’t be going through Etsy for this one. Only direct requests to me via email or Insta will be accepted.

    If you’ve made it this far…THANK YOU!
    Figuring all this out took far more time and effort than I expected it to and I really hope is does help someone!

    Leave a comment

  • Falkor Has Arrived!

    Falkor is FINISHED!!!

    And just look at him, look at that face!! He is absolutely amazing and I honestly can’t believe I did that!

    The imposter syndrome is strong with this one. I did that! ME and my full bore chaos brain actually pulled it off!

    Now IF I were to make him again there are some slight changes I’d make to how I did a few things. But THIS gloriousness being the final outcome on the very first go…THRILLED doesn’t even begin to cover it.

    I’m working on getting a full “cost/pricing” breakdown figured out to hopefully help others figure out how to better price their own works. And also have a price for anyone that might just be interested in having their own Falkor made.

    Next on the list of “to do” requests, another custom Jack Skellington!

    Leave a comment

  • Halfway There!

    Ignore my kids toys 🫣 Hahahaha!! Here’s some good “behind the scenes” or “in the making” of the process.

    I decided to do one side of his body at a time, just to really show off the difference between not brushed vs brushed.

    It’s honestly hard to get good pictures to really show it off, but I hope you can see the difference well enough.

    I’m honestly not really sure how long it took me to just brush him out, I set the timer and just let it go while I worked…I should’ve done a separate timer for this bit and I’m sorry I didn’t 😅

    After what felt like ages of brushing came the time to add his scales. Again I should’ve done a separate timer for this part also 🤦‍♀️

    His scales turned out to be an even BIGGER headache than the brushing was. I totally wasn’t prepared for the amount of time it was going to take.

    Nor the amount of patience I was going to need. They were like a puzzle that I needed to cut the pieces for myself AND THEN also place just right.

    A headache for sure, but one that was totally worth it in the end! The side by side honestly just 🤯 I surprised even myself with how well this worked out.

    Leave a comment

  • Oops…Forgot to Post

    Well I have definitely failed at this update 🫣 So I’ll keep this one short and sweet…

    Falkor has a fully finished body! All that needs to be done here forward is final detail work. Which sounds easy, but will for sure be very time consuming!

    Current time into this amazing beasty!

    Leave a comment

  • Try Try Again..

    Not me originally thinking his feet/legs wouldn’t give me much issue…🤦‍♀️…Jokes on me! Hahahaha

    After spending a couple hours making the first version to realize once I felt “done” I totally hated it..So back to the drawing board it was.

    With some help from my mom while complaining, she helped me research a bit and we learned that while most drawings and models have Falkor with several “toes” he is ACTUALLY only supposed to have 3 on each foot. He was modeled after Chinese dragons. So knowing that I decided it was best to follow that guideline. Boy am I glad that I did!

    Sorry photos aren’t the best this time around. With his size, it’s getting a bit harder to get all the angles properly while still working on him 🫣 Two more legs to go! Then scales, and yep, all the brushing!

    3 responses to “Try Try Again..”

    1. Angela Avatar
      Angela

      He looks totally amazing! You should be doing pieces for movies 👌🏼🥰👏🏼😍

      Liked by 1 person

      1. C3fiberarts Avatar

        Hahaha! Wouldn’t that be something!

        Like

    Leave a comment

  • Kindness Pays Off

    Quite a few months back someone in my neighborhood was going through recently passed moms things and clearing out a lot of crochet related items. She had thread, hooks, notions, just about everything a crocheter would need. Not only that, she had an INSANE collection of very old/vintage magazines and pattern books. I collect them and JUMPED at the chance. My collection is now incredible thanks to her daughter’s generosity.

    However, when having a little chat and learning a bit about her mother and all the things she’s made, she told me about a tablecloth she was unable to finish. Rather upset over it never getting finished and not knowing what to do with it, but not wanting to get rid of it. I offered my skills. As a thank you for the books/magazines I told her I would finish the tablecloth her mother started and was unable to finish.

    I brought the beautiful work home and after some inspection I found that she did in fact finish the tablecloth! All that was needed were ends to be weaved.

    So will some back breaking effort and sitting on the floor for some hours, I got all the ends wove.

    I am seriously in awe over this magnificent woman’s work. The Pineapple stitch is one of my personal favorites, and seeing it used for something this large scale was amazing. Her stitches are perfection, and I can tell how much care went into this piece of art.

    This tablecloth seriously is an absolutely incredible work of art.

    It was an honor and a privilege to finish this for not only the daughter, but also for her mother.

    Take care of those around you, and if you have the skills to help, never shy away from doing something meaningful ❤️

  • He’s Got a Body!

    Woohoo!! FINALLY…A real update! Hahahaha…

    Getting his body just right has been one hell of a process. Not to mention getting a good amount of “movement” into him but still keeping a natural look.

    I’m honestly very thrilled with how he’s turning out as a whole! I’d say I’m confidently halfway finished with making him. What’s left to do are both his front and back legs, adding the scales on his sides, and then brushing ALL of him out for his true furry look.

    And yes…I’ve still being time tracking this whole time. Enjoy the updated time into this 🫣

    Just for an added bonus look into how big he is, cause pictures don’t always give a good visual on sizing.

    This is Falkor with his muzzle starting at the very tip of my middle finger…

    PART of me wants to do this again with plush or even blanket yarn BUT that also sounds incredibly awful for my hands, not to mention my wallet 😅

    2 responses to “He’s Got a Body!”

    1. Midna Twili Avatar

      You are doing so good!

      Liked by 1 person

      1. C3fiberarts Avatar

        Thank You 🥰🥰

        Liked by 1 person

    Leave a comment

  • Behind the Scenes..

    Lots show the end result of their art, but how often do you really see the behind the scenes look into how they go about making them?

    So here you go! A wonderful behind the hook look hahaha!

    This body is now as big as my torso 😅 making it increasingly difficult to work up his tail and very slow going.

    Falkor is quite literally beating me up at this point every time I have to turn him.

    When artists claim their “blood, sweat and tears” went into something. Believe them! Now while I haven’t bled for him…yet…I’ve definitely been sweating and have for sure shed some tears of frustration 🤪

    On top of all that…I’ve had this head just chilling staring at me for days.

    He’s cute for sure, but it’s awkward just having his head just sitting there…watching me…waiting for his body 🫣

    I swear my guy, it’s coming!

    While working on this labor of love, I’ve restarted from the very beginning and have been binge watching ER. I remember way back forever ago when I was much much younger watching this show religiously with my Mom. I was so excited when I realized that HBO had the whole series available to stream.

    So this is what I’ll continue to be doing for the foreseeable future!

    What do you find yourself binge watching while you Work/Crochet?

    Leave a comment

  • Mystic the Unicorn

    Mystic’s full redesign is AVAILABLE NOW!!! I put so much work into this pattern and trying to make it as easily understandable as possible with my mixing medium ways!

    **IMPORTANT**
    You WILL need my Add Ons to complete this pattern! Which is why I am offering the pattern free.
    You can find the full Add On Bundle here

    Now to the part you’ve all been waiting literally a lifetime for! I give you…Mystic the Unicorn!

  • Just Another Update..

    Just a chugging away at his body! I’m doing it all as one piece as far as his body and tail goes. Will allow for the best and most consistent look overall.

    Leave a comment