I’m choosing to celebrate with more crochet of course! And lots of food, drinks, and fireworks later haha! How are you celebrating America’s 250th Birthday today?!
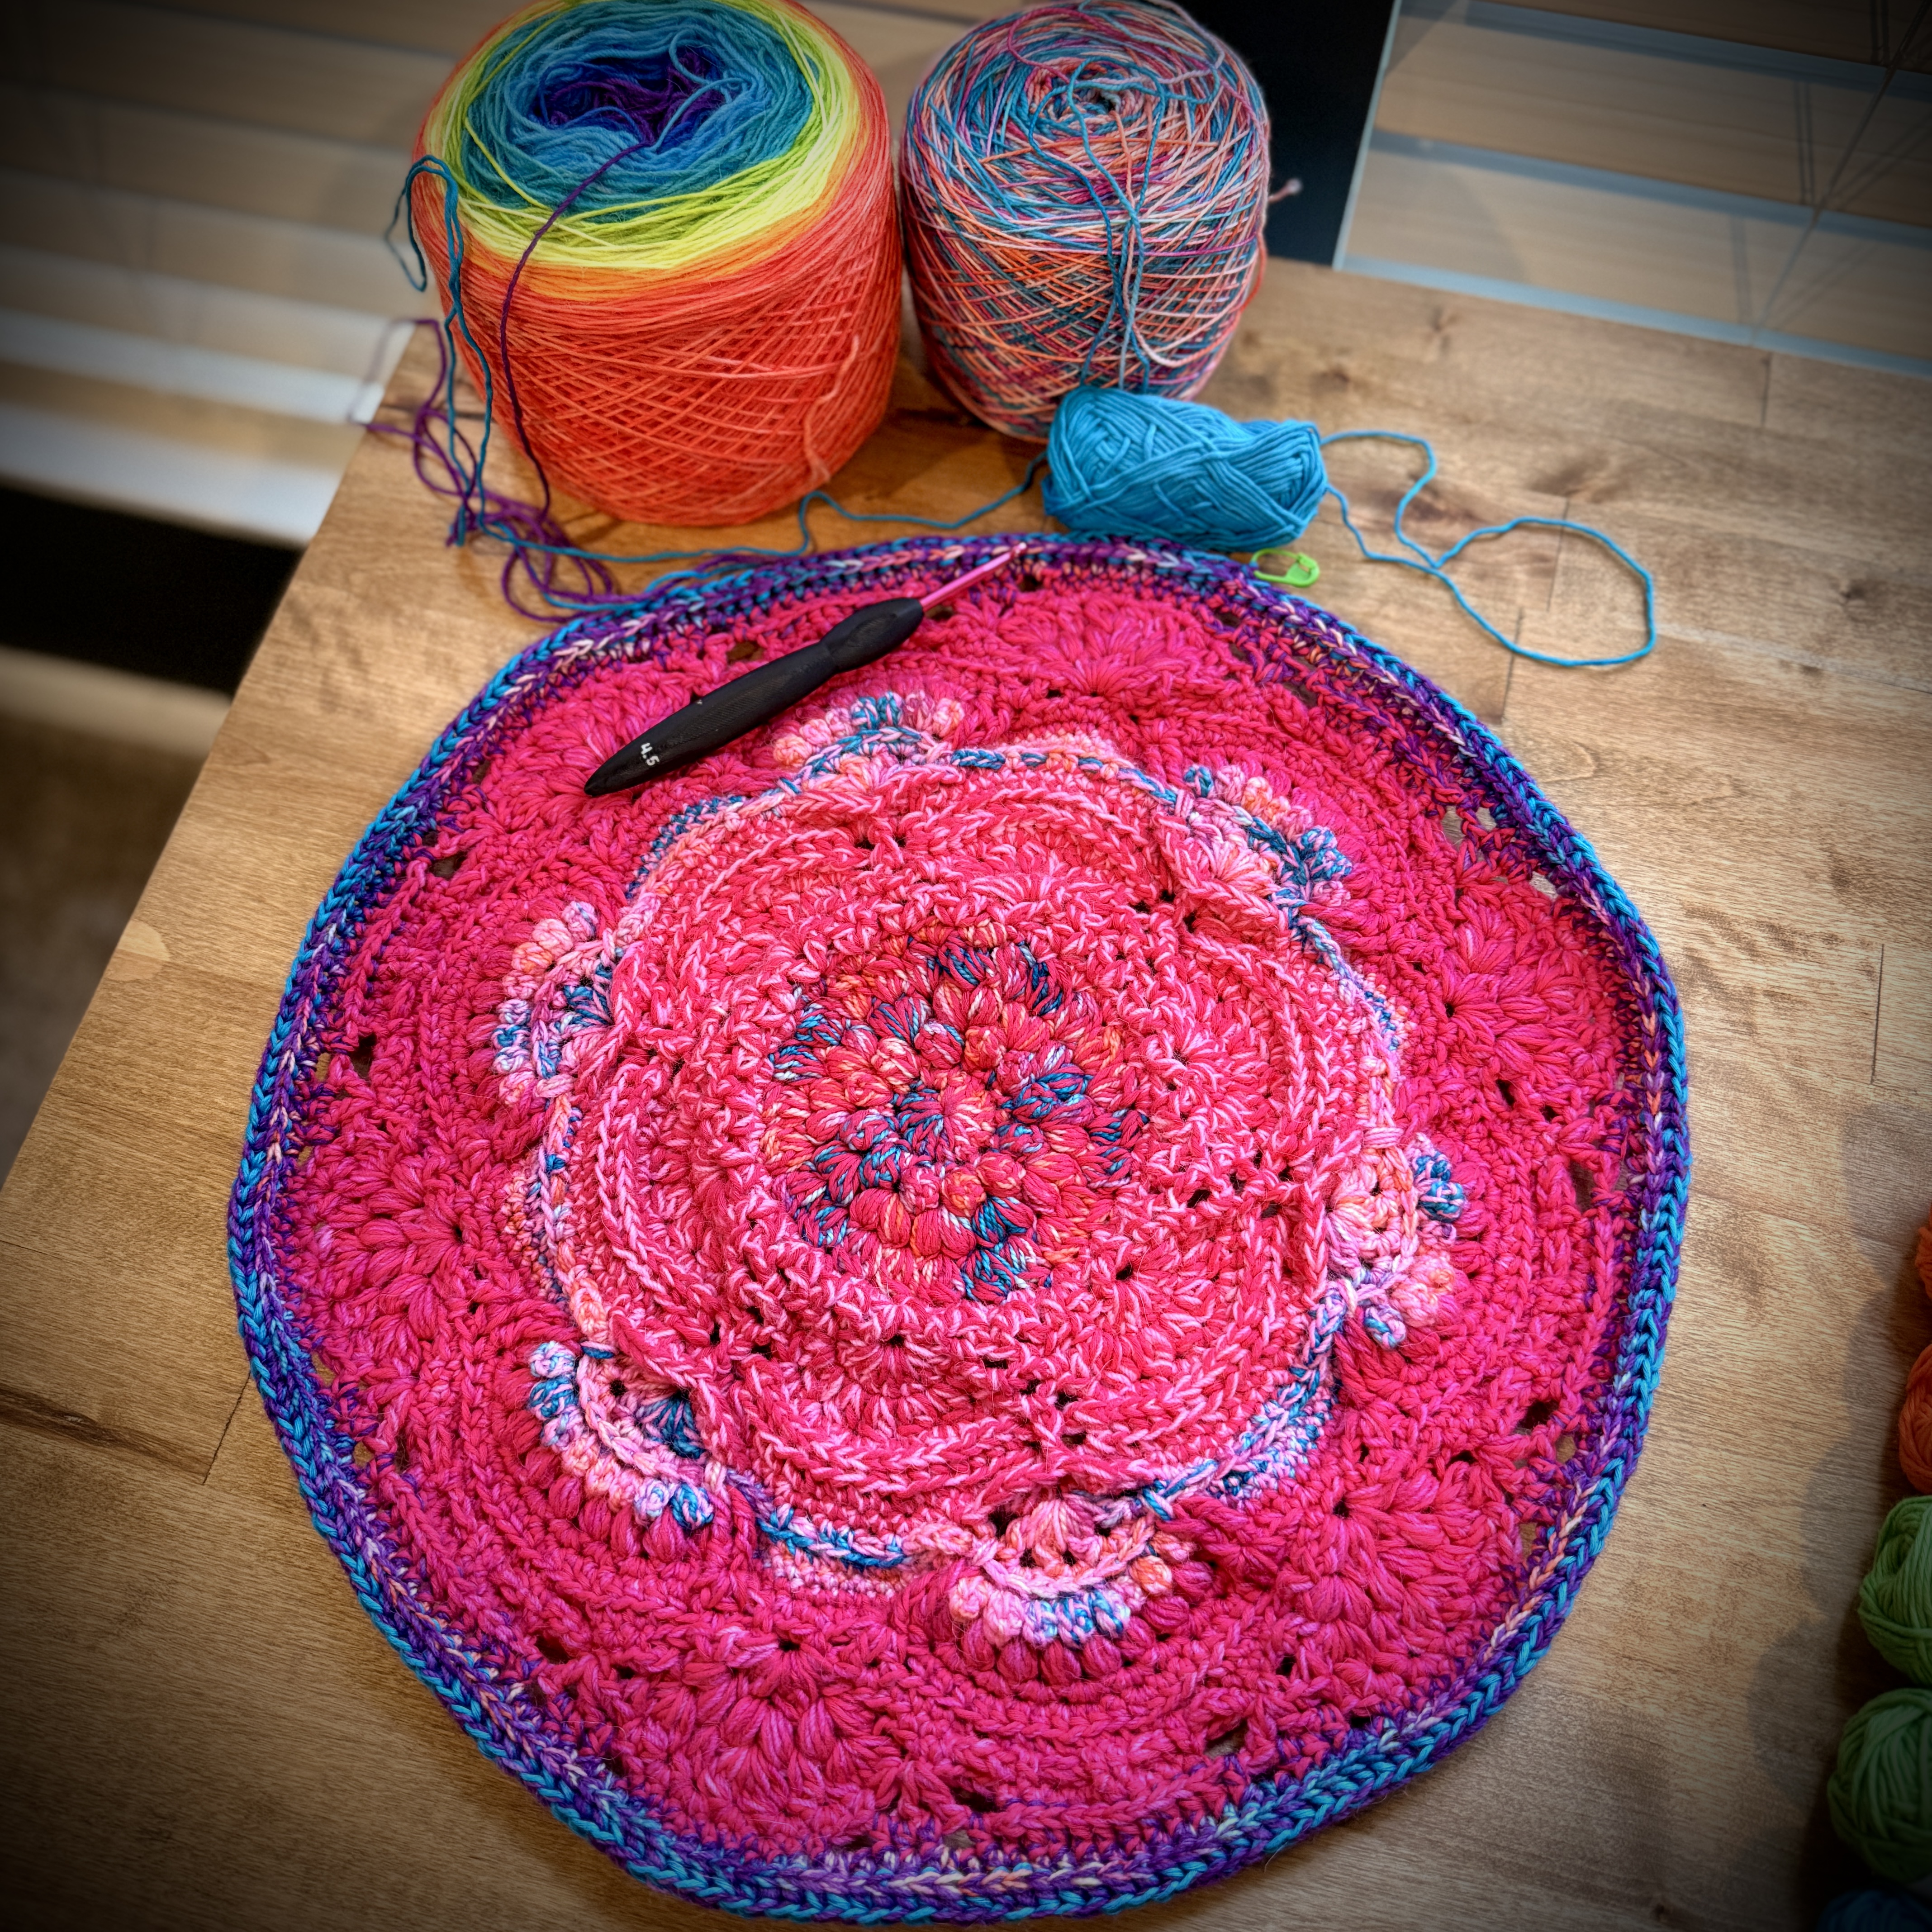
I’m currently working up the last of the custom cocoon cardigans I have on my list to finish. It is turning out so bright and glorious! I can’t wait to finish 😍
While I’m working this up I’m trying to decide on what I want to do moving forward as far as patterns go.
I want to design new things of course, buuuuut… I also have several older patterns that definitely need some tlc 😅 So I’m thinking I’ll start with one of those before something new again.

Which leads me to my question for all of you! Of these two patterns, which would you rather see me update and re-release first?
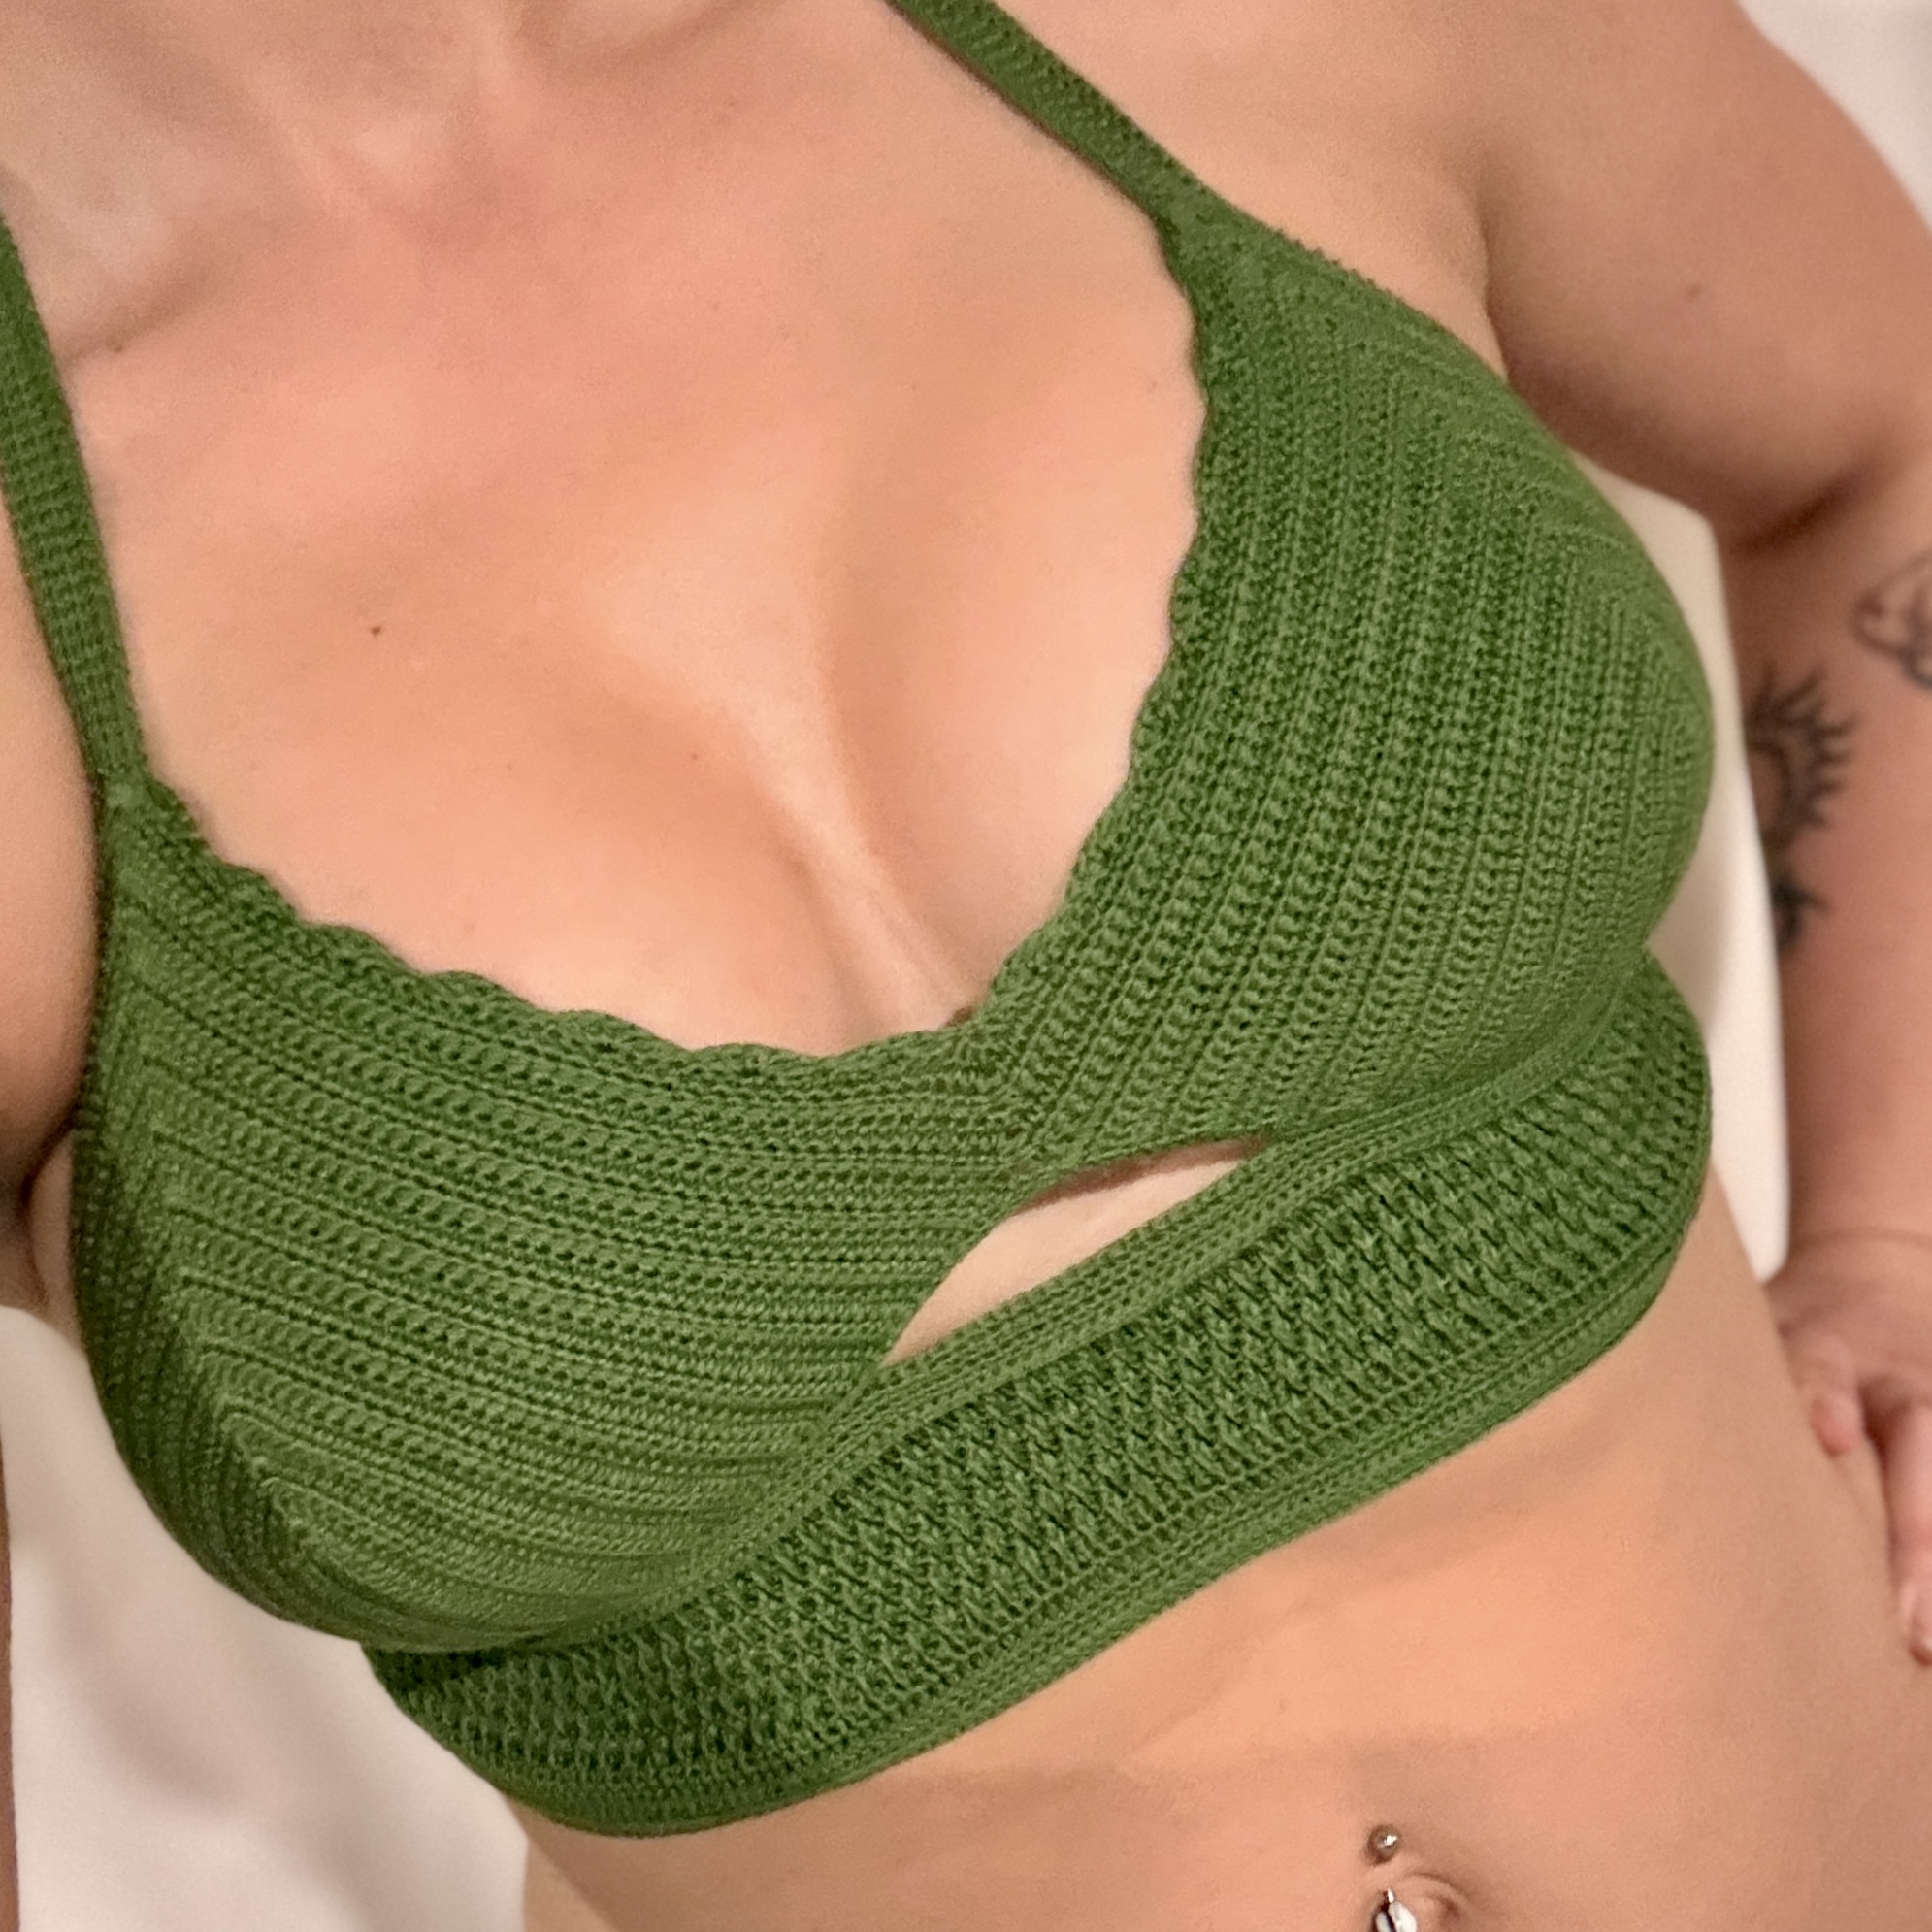
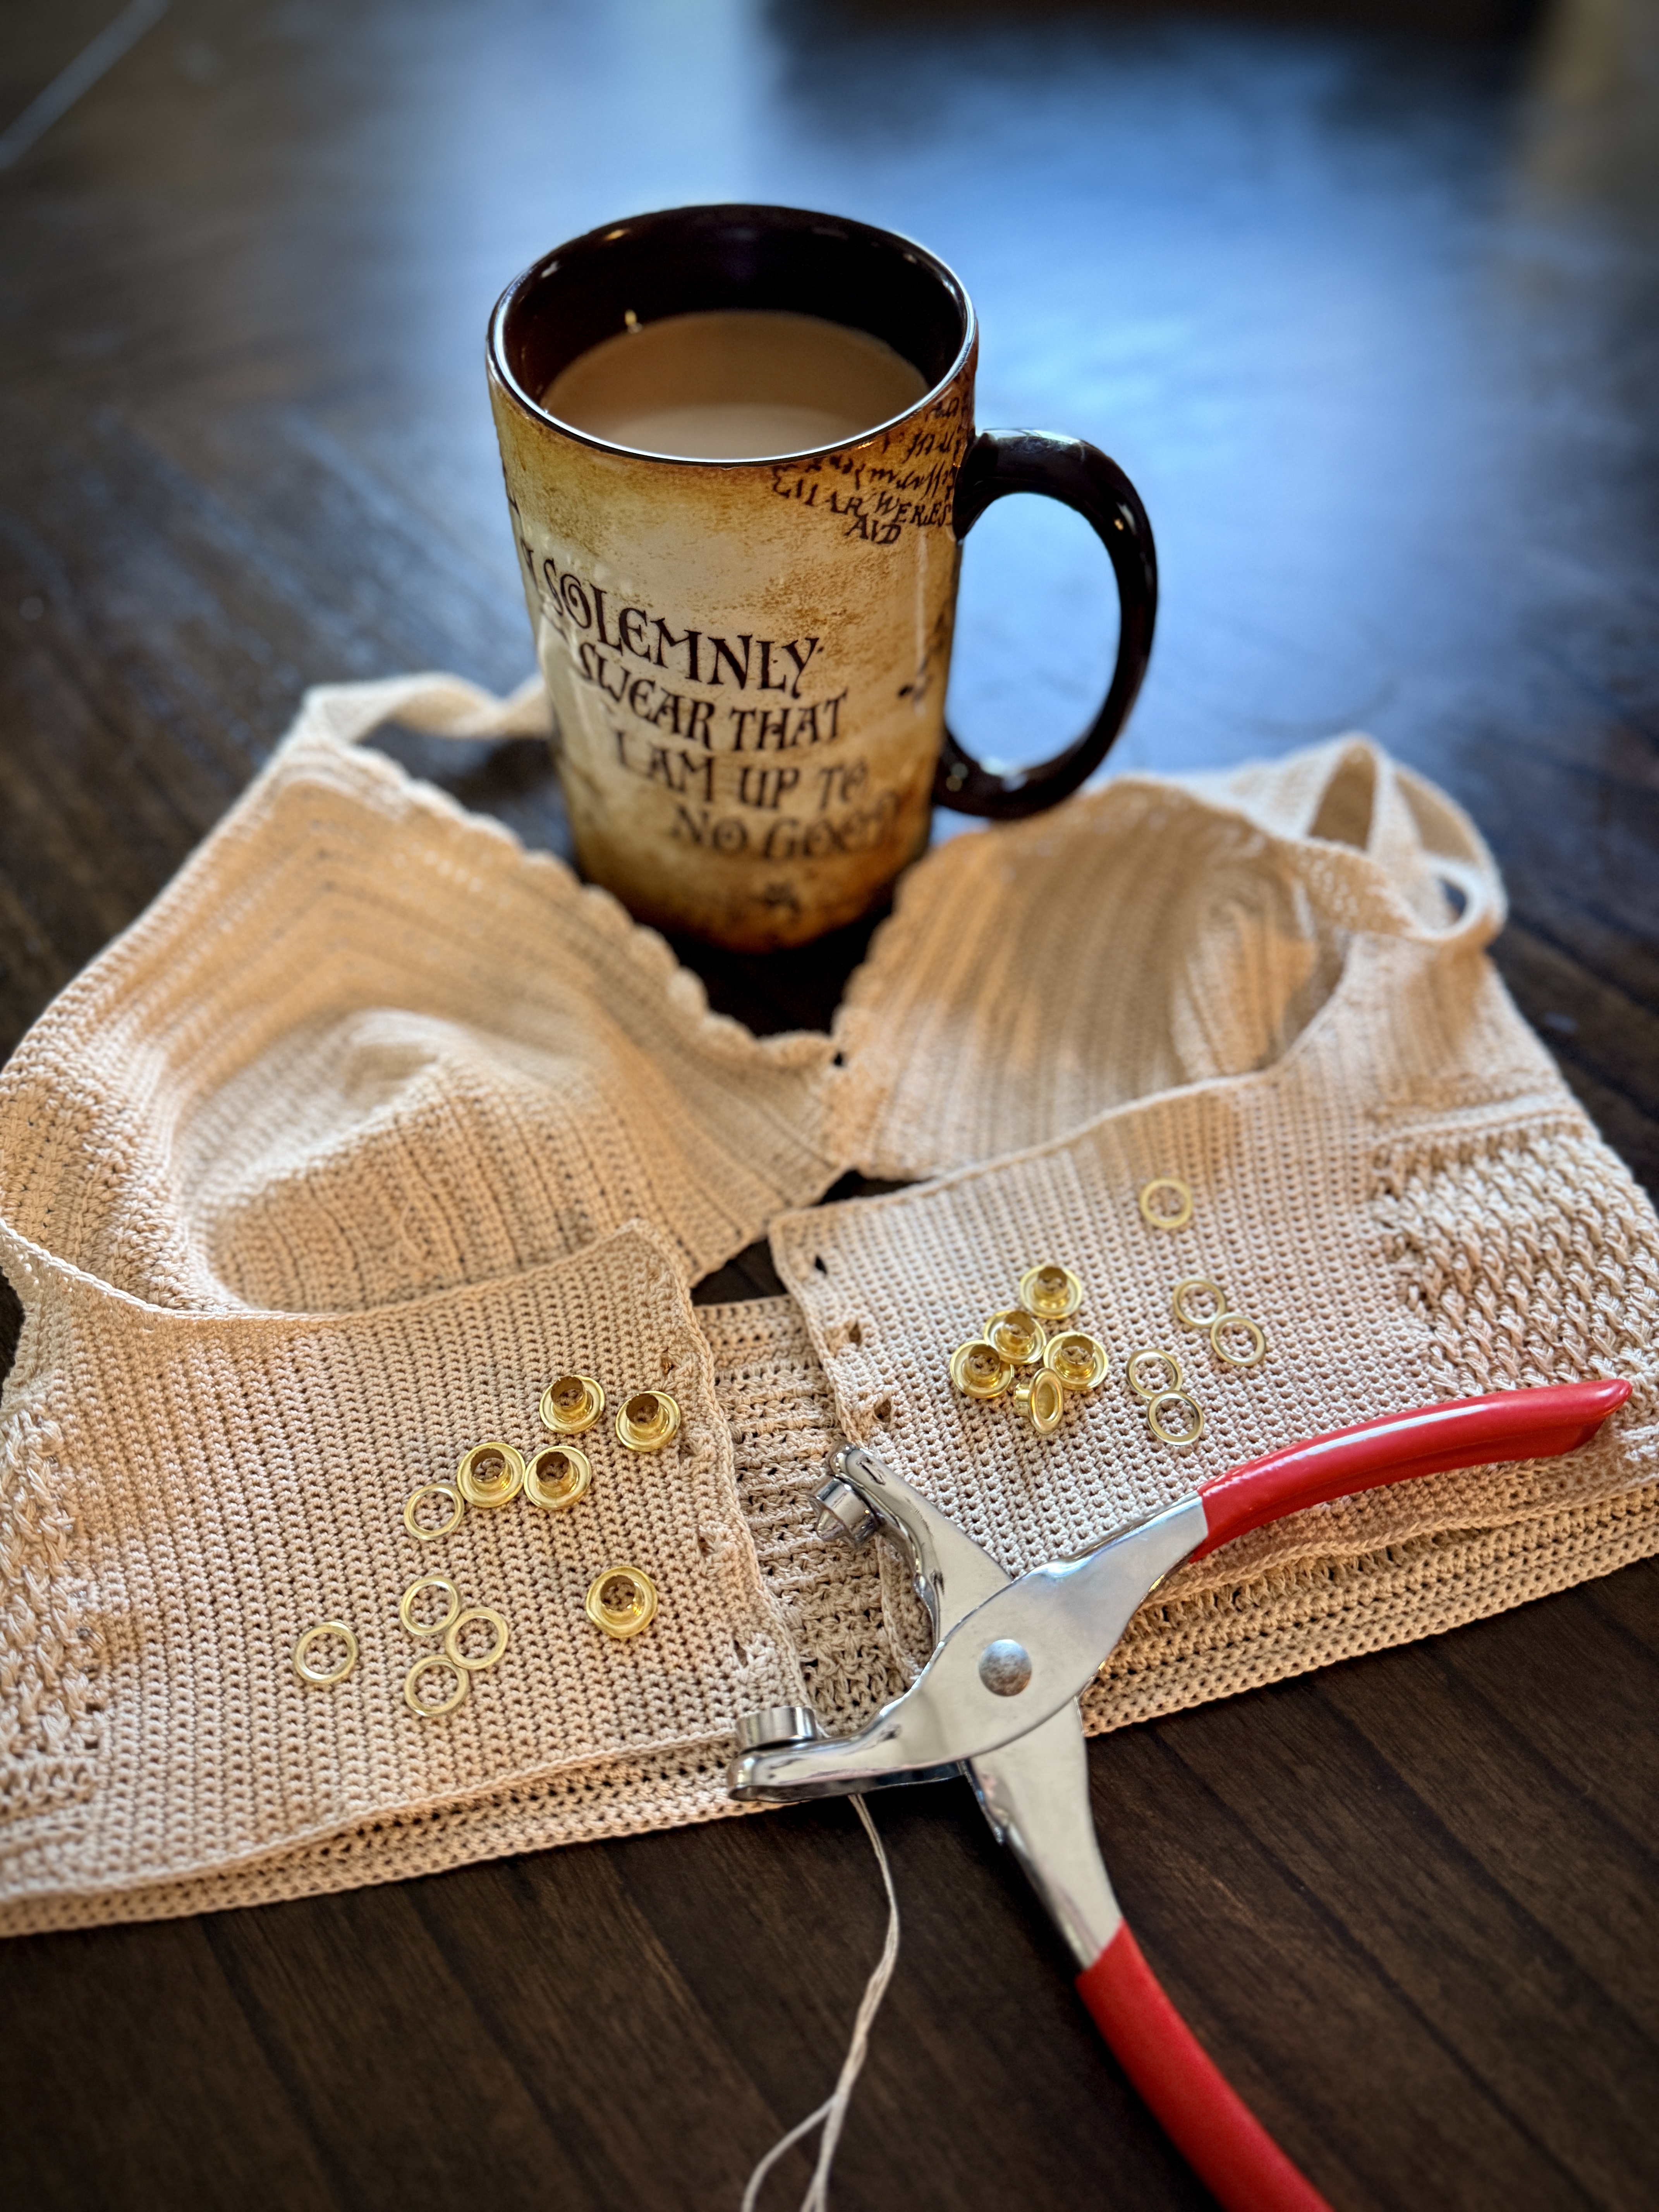
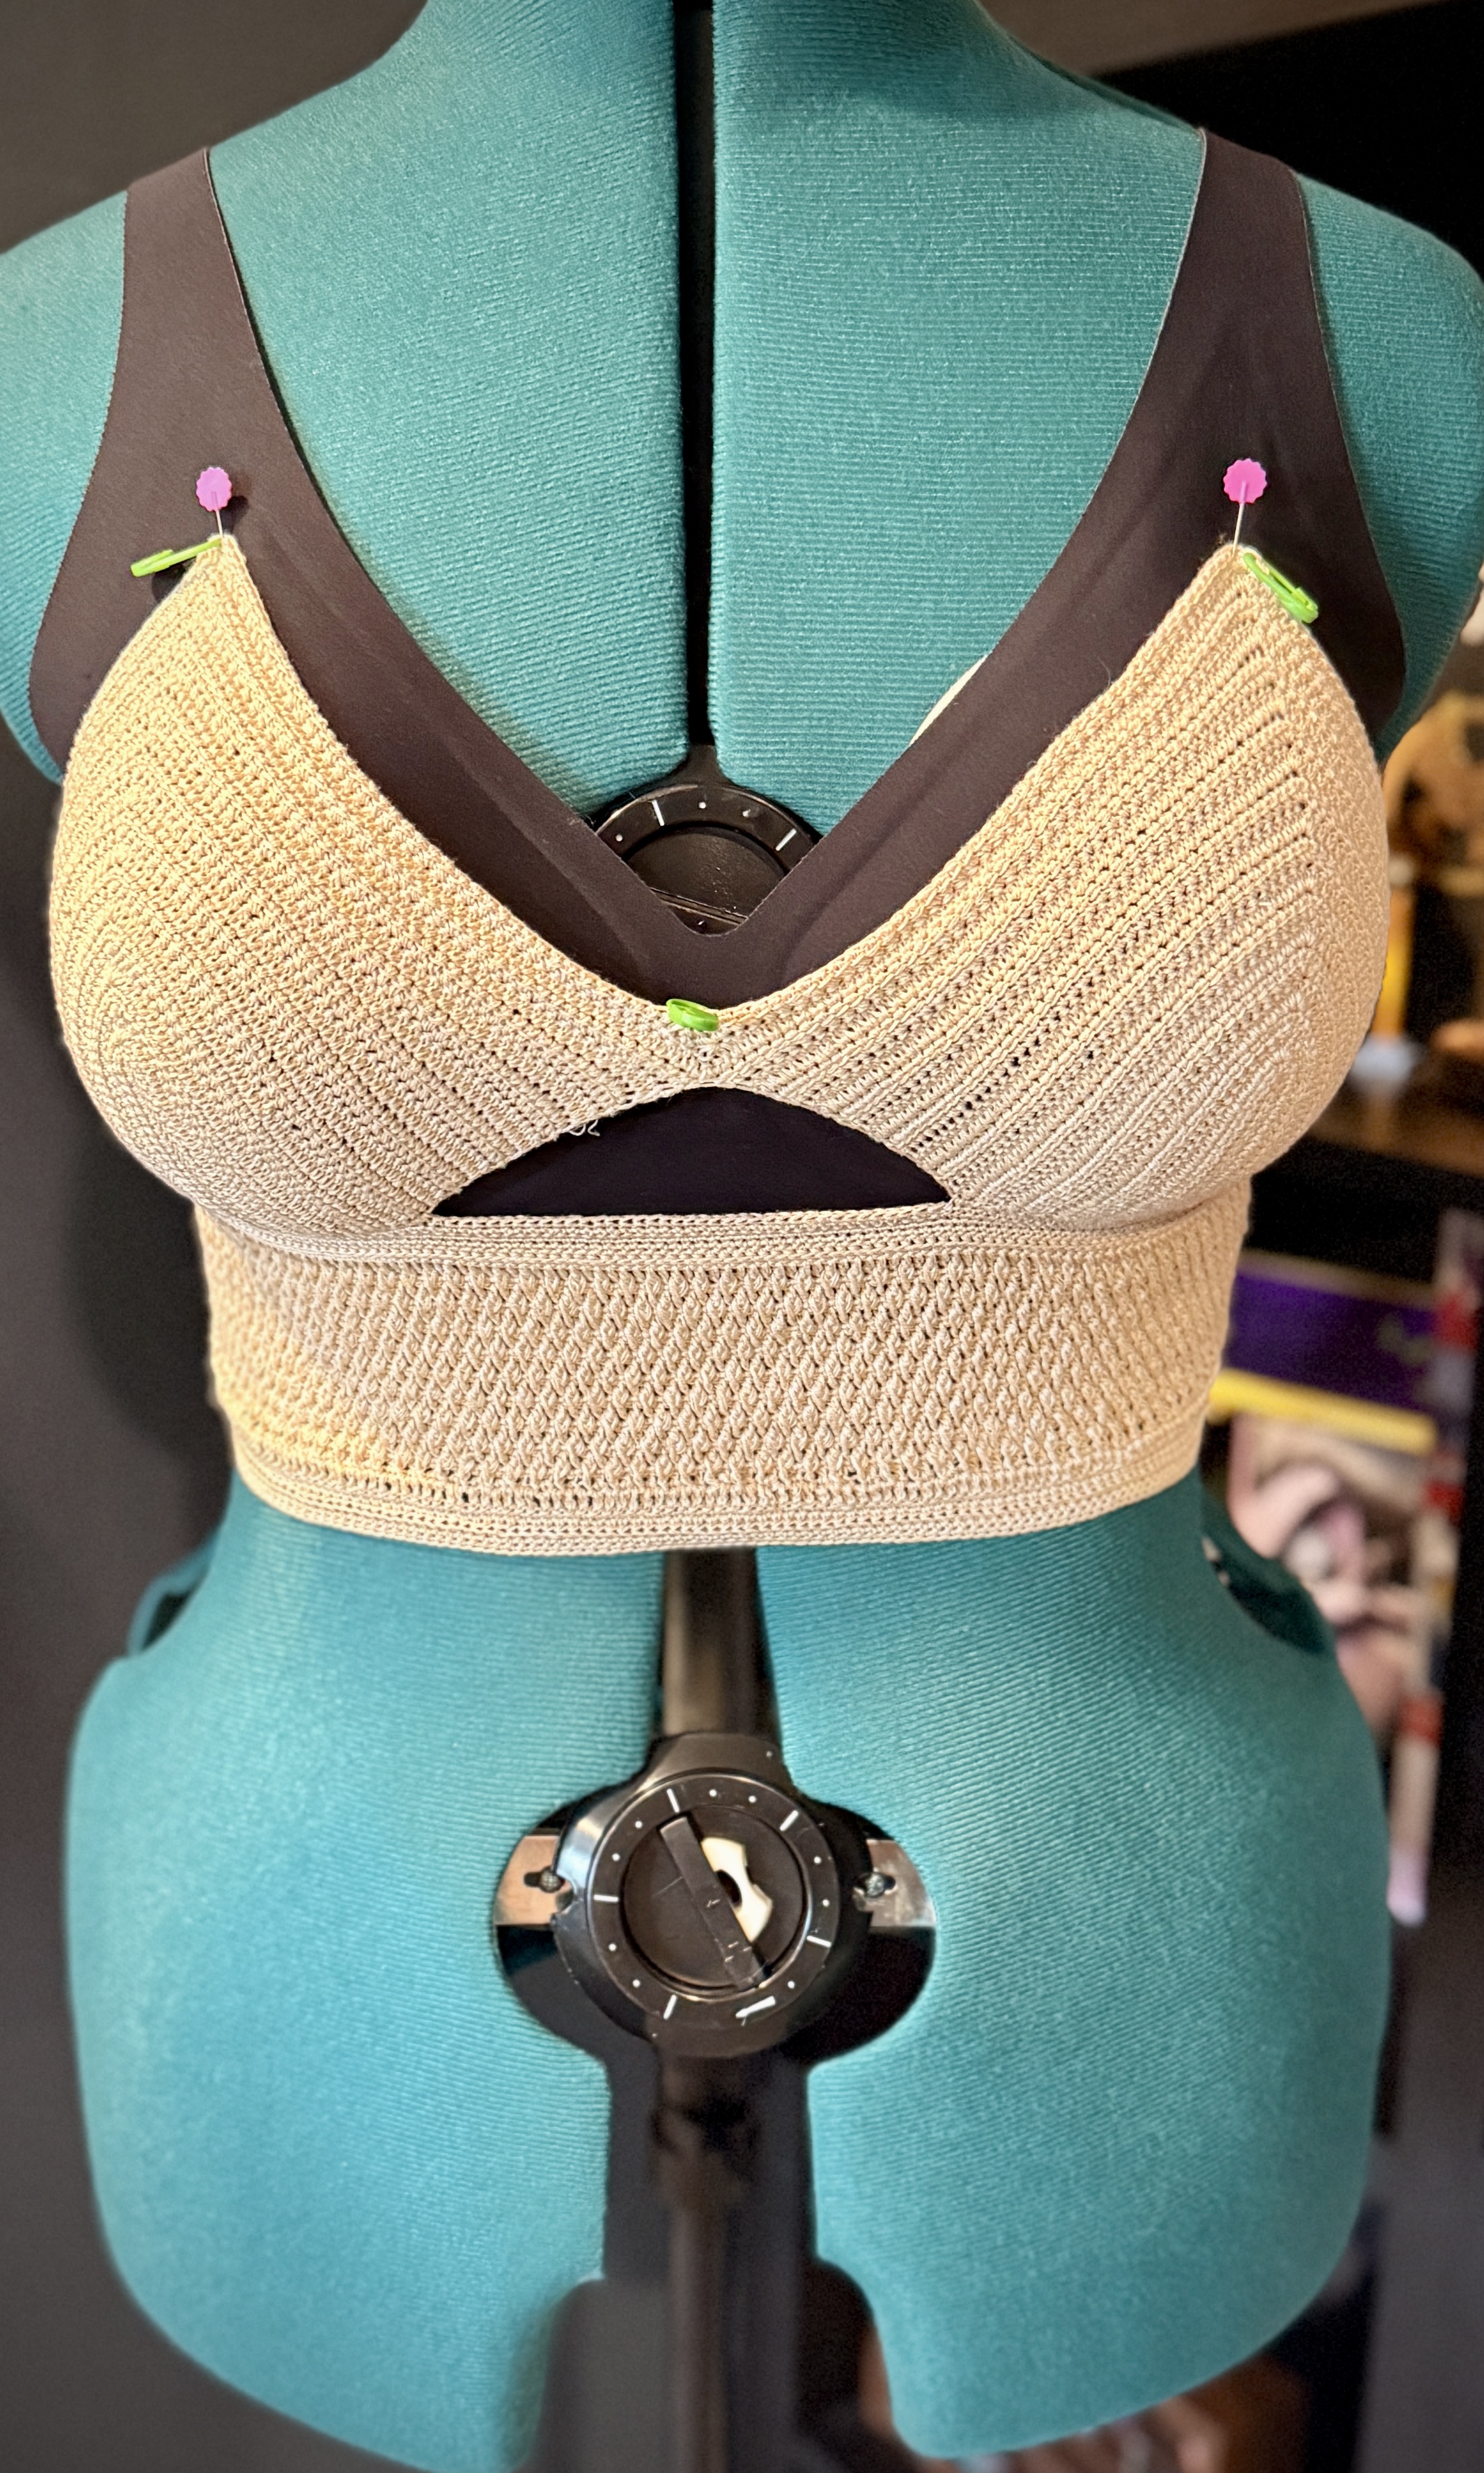
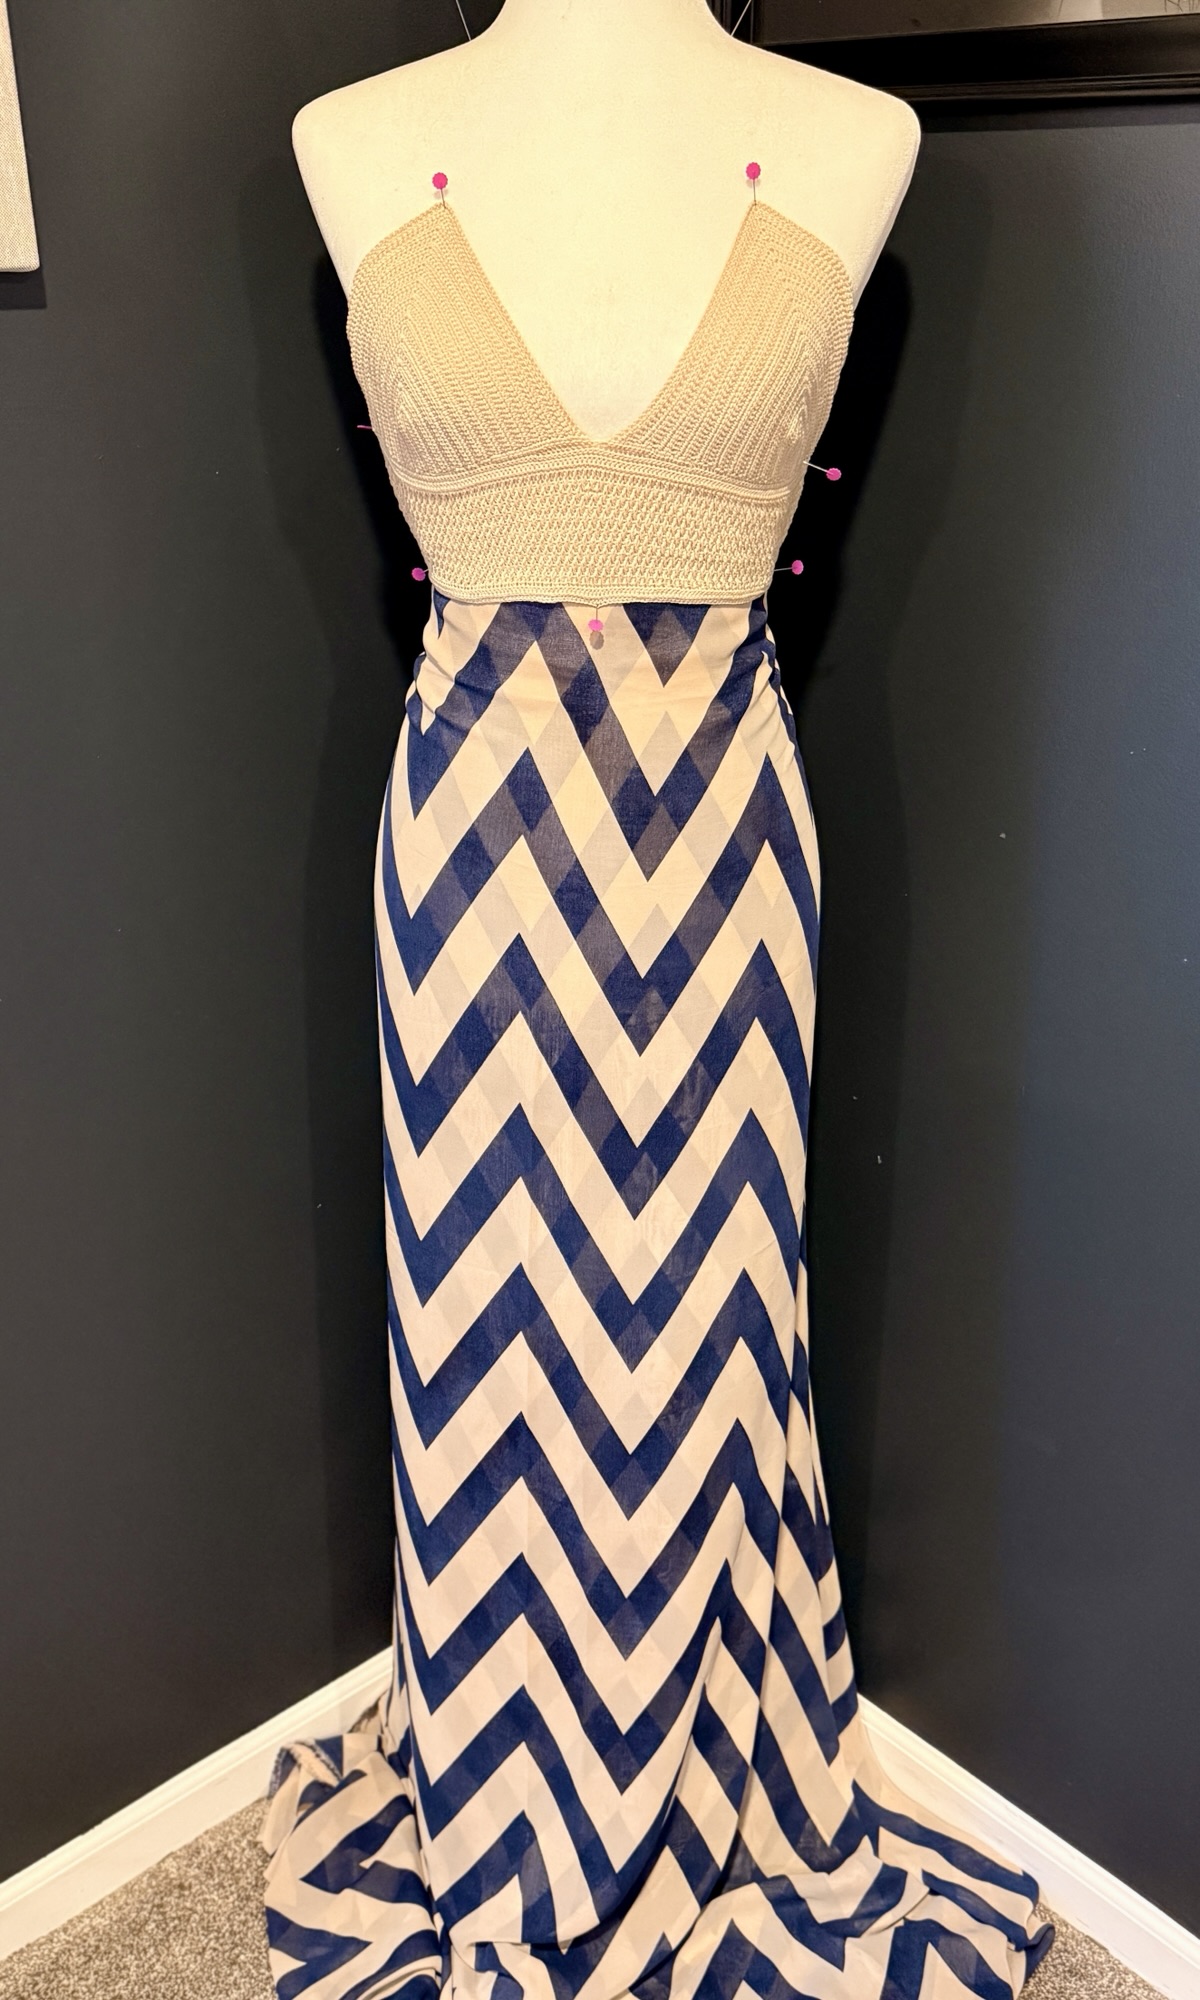
Pinnacle Passion Top OR Cross Crazy Top


Leave a Reply